
How to Format a Thesis in Microsoft Word Step by Step in 2026 (Styles, TOC, Captions)
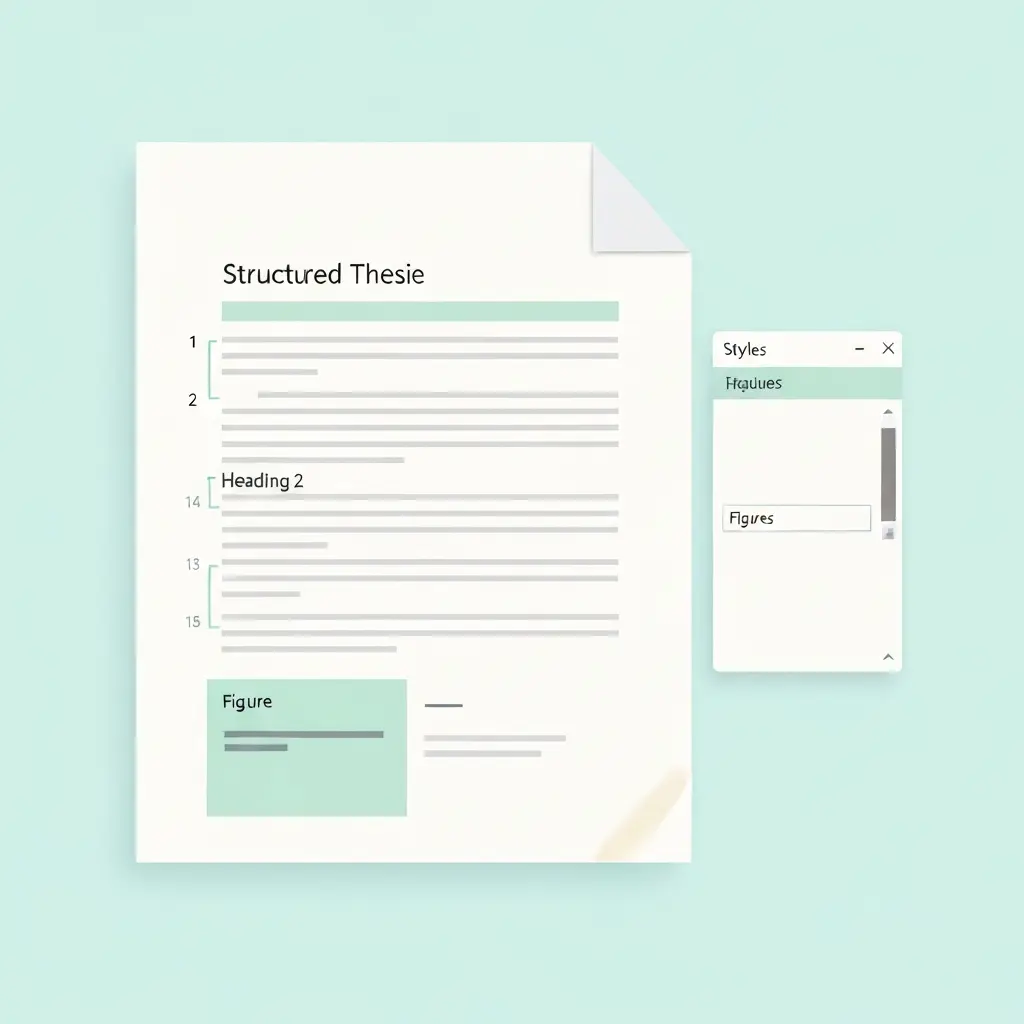
Every year, students lose marks — and sometimes face resubmission — not because their research is weak, but because their Word document is structurally broken: a manually typed table of contents with wrong page numbers, heading fonts that drift across chapters, Roman numerals that bleed into the body, or a PDF that strips accessibility tags on export. Learning how to format a thesis in Word properly, from the Styles pane outward, prevents all of that. This guide goes far beyond margin settings. It walks you through the entire professional-grade setup that examiners at UK, US, Australian, and Canadian universities see in distinction-level submissions in 2026.
If you are starting out and want a broad overview of the process first, the Word thesis formatting overview covers the fundamentals. This guide picks up where that one stops — covering the Styles pane architecture, multilevel heading numbering, automatic captions and lists of figures, section breaks for mixed pagination, cross-references, landscape pages for wide tables, font embedding, accessibility tagging, and a pre-submission Word checklist. Work through each step in order, on a copy of your document.
Step 1 — Build Your Styles Pane Architecture
The single biggest mistake students make is formatting headings manually — bold, 16pt, Times New Roman — instead of using Word’s named Styles. When you use manual formatting, Word has no structural understanding of your document. The automatic TOC, the automatic List of Figures, cross-references, and even the accessibility export all depend on Styles. Fix the architecture first and everything downstream is automatic.
Open the full Styles pane
On Windows, go to Home → Styles → click the small arrow at the bottom-right of the Styles group. This opens the floating Styles panel showing every style in the document, not just the gallery shortcuts. On Mac, click the Styles sidebar icon in the toolbar, then choose “All Styles” from the dropdown.
Modify the core thesis styles
Right-click Heading 1 in the Styles pane and choose Modify. Set the font, size, spacing before/after, and page-break behaviour your institution requires. Critically, ensure Style based on: (No Style) and Style for following paragraph: Normal. Repeat for Heading 2, Heading 3. Then modify Normal (your body text) — typically 12pt Times New Roman or Calibri, 1.5 or double spacing, first-line indent of 0.5 inch or paragraph spacing of 6–12pt.
Create thesis-specific styles
Your institution may require a distinct style for block quotations, captions, footnotes, and the abstract. Create each as a new style based on Normal, with its own name (e.g., “Thesis Block Quote”, “Thesis Caption”). Never apply ad-hoc formatting on top of Normal — every exception needs its own named style so you can update it globally.
Step 2 — Set Up Multilevel Heading Numbering
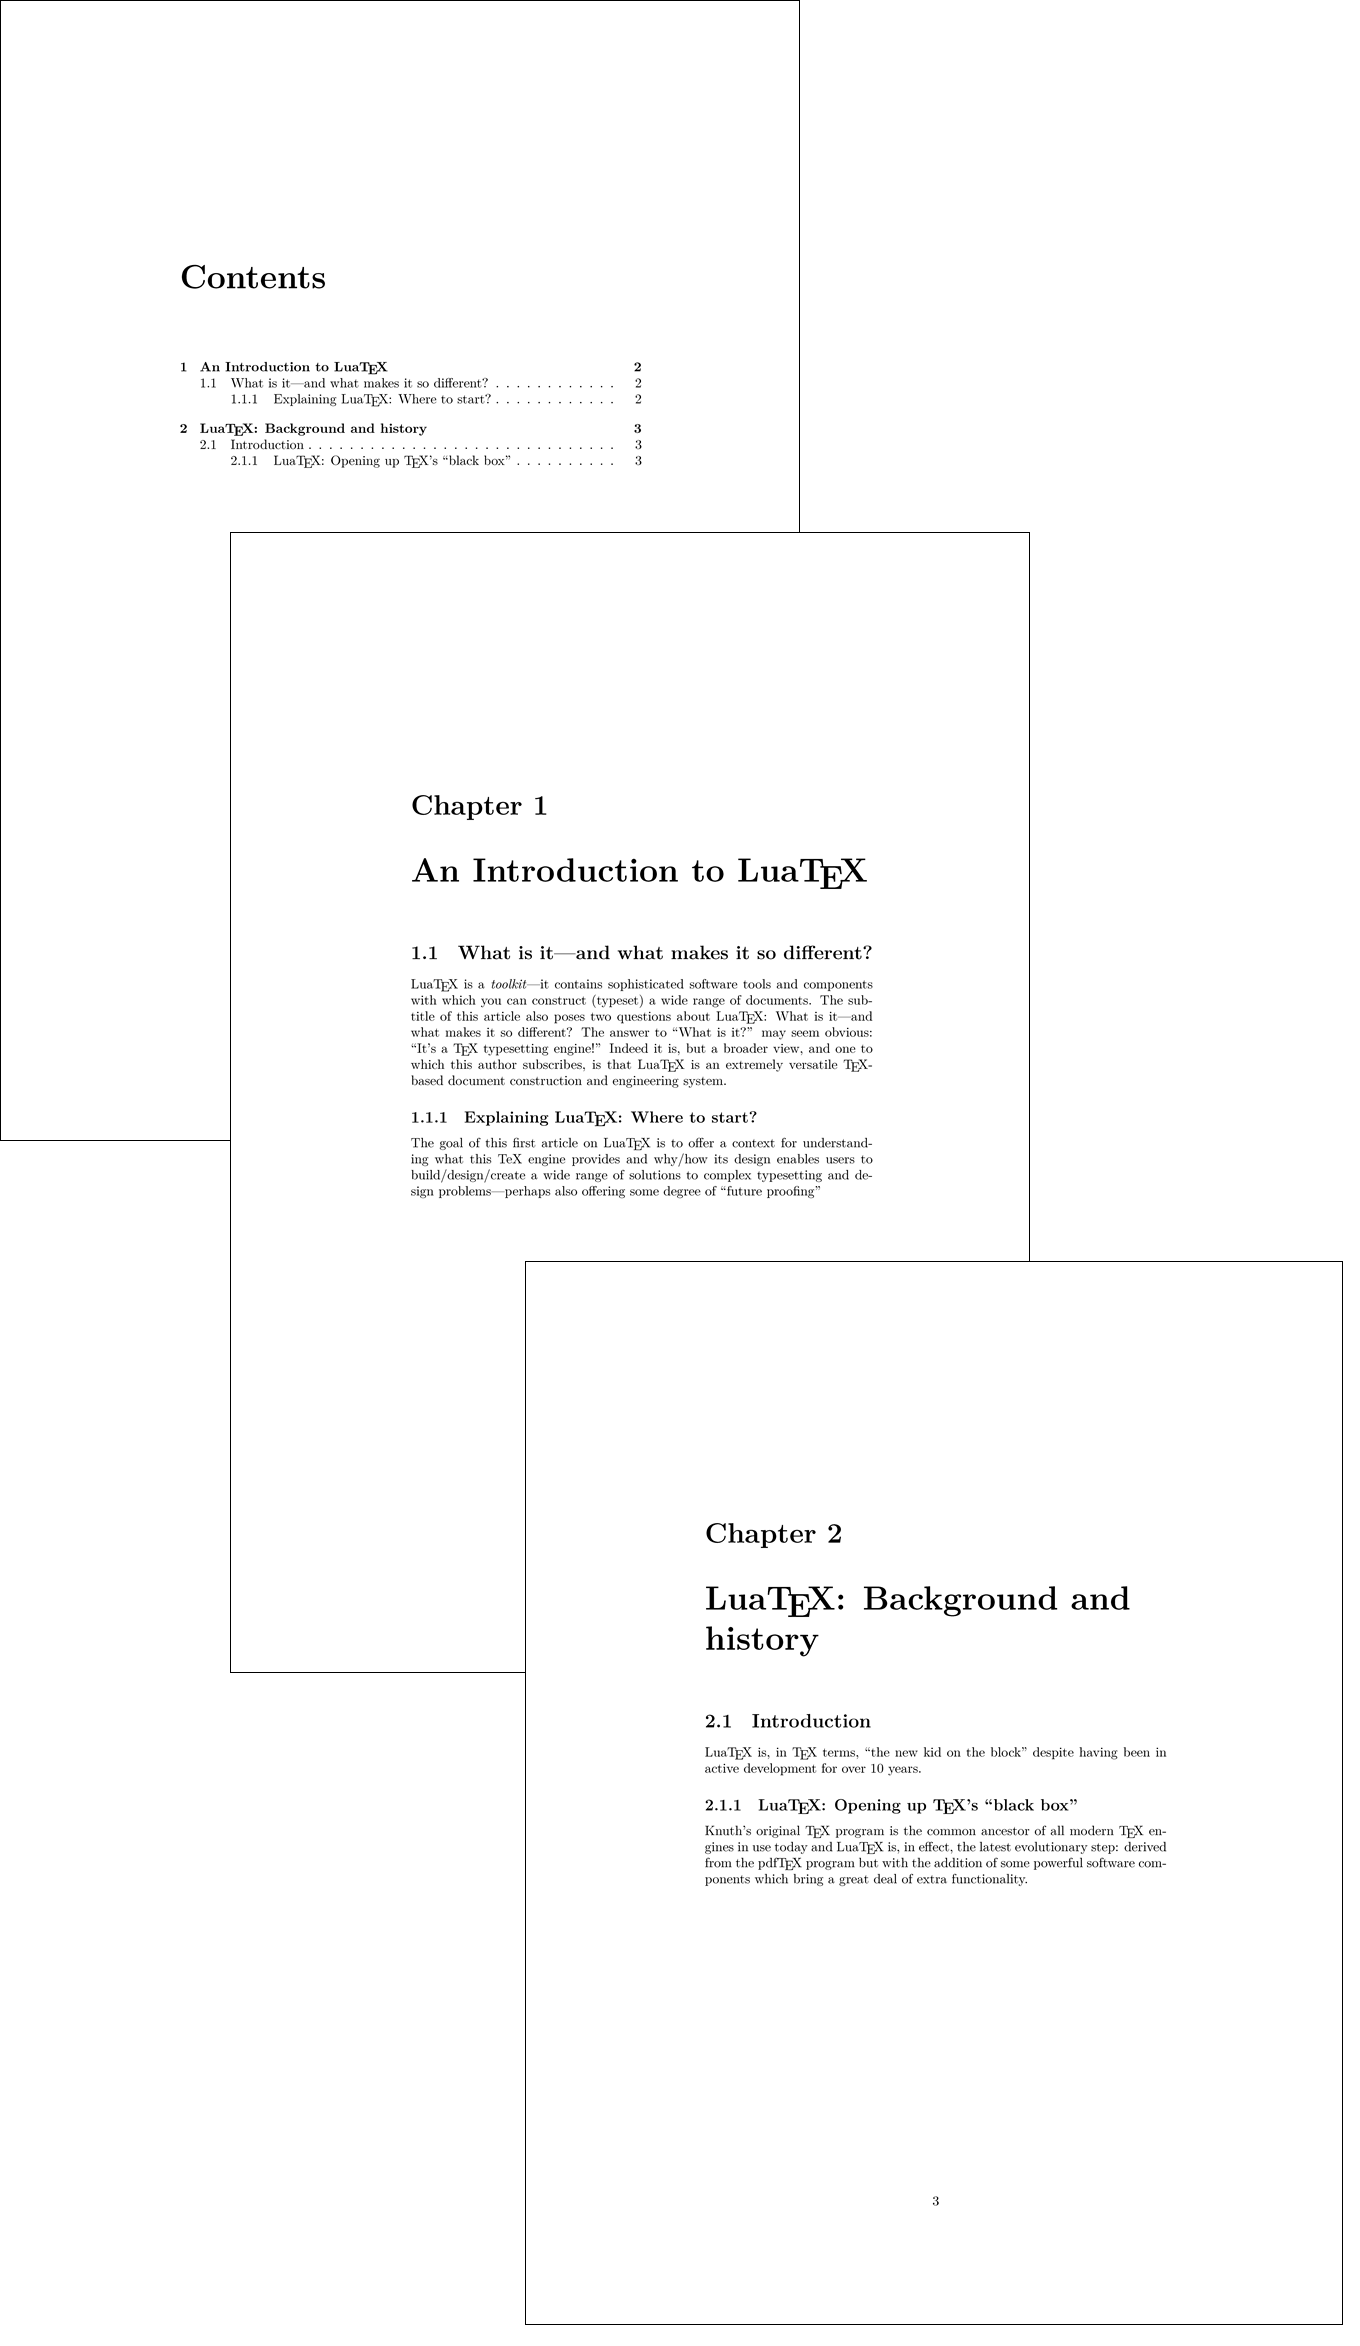
Many dissertations require numbered headings such as 1. Introduction, 1.1 Background, 1.1.1 Context. Doing this manually is a maintenance nightmare — adding a section mid-chapter means renumbering everything by hand. Word’s multilevel list feature links automatic numbering directly to your Heading styles.
Link numbering to Heading styles
- Place your cursor in a Heading 1 paragraph.
- On the Home tab, click the Multilevel List icon in the Paragraph group (the icon showing stacked lines with indents). Choose Define New Multilevel List.
- In the dialog, select Level 1. Under “Link level to style”, choose Heading 1. Under “Number format”, type your prefix (e.g., nothing, or “Chapter “) and set the number style to 1, 2, 3. Set “Number position” to Left, aligned at 0″.
- Select Level 2, link to Heading 2. In the Number format box, click Level 1 to insert the parent number, then type a period, then insert Level 2. The result should read 1.1.
- Repeat for Level 3, producing 1.1.1.
- Click OK. Word automatically numbers every heading in the document.
If any heading is not picking up the numbering, click inside it, open the Styles pane, and reapply the correct Heading style. The numbering follows the style, not the paragraph.
Step 3 — Generate an Automatic Table of Contents
With Heading styles applied throughout the document, inserting a fully automatic TOC takes under a minute. For a detailed breakdown of TOC formatting and customisation options — including decimal vs outline numbering and what to include in the front-matter listing — see the guide on auto-generating a table of contents for your thesis.
Insert the TOC
- Place your cursor on the page designated for the TOC (after the Abstract, before the Introduction).
- Go to References → Table of Contents → Custom Table of Contents.
- Set Show levels to 3 (or however many heading levels your institution requires in the TOC).
- Ensure Use hyperlinks instead of page numbers is checked — this makes the PDF navigable.
- Click Modify to control the TOC 1, TOC 2, TOC 3 styles (font, indent, leader dots).
- Click OK. Word generates the TOC from your headings instantly.
Update the TOC before submission
Right-click anywhere inside the TOC and choose Update Field → Update entire table. Do this after every significant edit. The single most common formatting complaint from examiners is a TOC whose page numbers do not match the document — this is always caused by failing to update the field before printing or exporting.
Step 4 — Add Figure and Table Captions
Captions inserted via Word’s caption tool are not just labels — they are the data source for the automatic List of Figures and List of Tables, and they can carry chapter-number prefixes (Figure 2.3, Table 4.1) when linked to your multilevel numbering. Never type caption text manually if you want these lists to work.
Insert a caption
- Click on the figure or table.
- Go to References → Insert Caption.
- In the Label dropdown, choose Figure or Table.
- To include the chapter number (e.g., Figure 2.3), click Numbering, check Include chapter number, and set “Chapter starts with style” to Heading 1.
- Type the descriptive caption text after the auto-generated number.
- Click OK.
Position captions below figures and above tables, as required by most style guides. Apply the “Thesis Caption” style you created in Step 1 to control font size and spacing consistently.
Step 5 — Build the List of Figures and List of Tables
Once all captions are inserted using the References tool, generating the List of Figures and List of Tables is identical to generating the TOC. For a full treatment of these lists — including formatting requirements across APA, Harvard, and Chicago, and how to handle appendix figures — see how to write a list of figures and tables for your thesis.
Insert the lists
- Place your cursor on the List of Figures page.
- Go to References → Insert Table of Figures.
- In the Caption label dropdown, select Figure. Click OK.
- Repeat the process on the List of Tables page, selecting Table as the label.
Right-click and update these fields before submission, just as you do for the TOC. If you add or remove any figure or table, re-insert the caption and update the field — the list will refresh automatically.
Step 6 — Insert Section Breaks for Roman-to-Arabic Pagination
Most institutions require preliminary pages (title page, abstract, acknowledgements, table of contents) to use lowercase Roman numerals (i, ii, iii) while the main body uses Arabic numerals starting at 1. Achieving this in Word requires section breaks that sever the link between the page-number format in each section. For a thorough walkthrough of every page-numbering scenario — including how to suppress the title page number and handle landscape pages — see the dedicated guide on page numbering and section breaks.
Insert the section break
- Place your cursor at the very end of the last front-matter page (just before Chapter 1 begins).
- Go to Layout → Breaks → Section Breaks → Next Page.
- Click anywhere inside Chapter 1’s header or footer area to enter editing mode.
- In the Header & Footer toolbar, click Link to Previous to turn it OFF (the button should appear de-pressed/not highlighted). This breaks the link to the front-matter section.
- Go to Insert → Page Number → Format Page Numbers. Select Arabic numerals (1, 2, 3) and set Start at: 1. Click OK.
- Return to the front-matter section and repeat: Insert → Page Number → Format Page Numbers → Roman numerals (i, ii, iii) → Start at: i.
Add section breaks between chapters
Insert a Next Page section break between every major section (chapters, bibliography, appendices). This allows each section to have independent headers and footers — for example, the chapter title in the header, or a different header for the appendix. Without these breaks, changing any header modifies the entire document.
Step 7 — Insert Cross-References
Cross-references — “see Table 3.2”, “as discussed in Section 4.1”, “Figure 2.1 shows” — are a recurring feature in any thesis. If they are typed manually, every time a figure is added or a section renumbered, every reference in the text must be hunted down and corrected. Word’s cross-reference field updates automatically.
Insert a cross-reference
- Position your cursor where the reference should appear in the text.
- Go to References → Cross-reference.
- In the “Reference type” dropdown, choose the relevant type: Heading, Figure, Table, Footnote, Equation, or Bookmark.
- In “Insert reference to”, choose what to display: “Heading number”, “Page number”, “Above/below”, etc. For figures and tables, “Only label and number” (e.g., “Figure 2.3”) is most common.
- Select the specific item from the list and click Insert.
Cross-reference fields update when you press Ctrl+A then F9 (Select All, then Update All Fields). Do this as the final step before every export. In long documents, some fields require two rounds of updating to fully resolve — run the command twice to be safe.
Step 8 — Create Landscape Pages for Wide Tables
A wide statistical table or methodology matrix often does not fit on a portrait page. Word allows individual pages to be landscape within an otherwise portrait document, without changing the orientation of surrounding pages.
Isolate the landscape page with section breaks
- Place your cursor at the end of the paragraph before the page that needs to be landscape.
- Go to Layout → Breaks → Section Breaks → Next Page.
- Place your cursor at the end of the content that needs to be landscape (before the next portrait page begins).
- Insert another Next Page section break.
- Click anywhere on the landscape page. Go to Layout → Orientation → Landscape. This affects only the isolated section.
- In the Header & Footer for this section, turn off Link to Previous so the landscape header does not overwrite portrait headers.
Rotate the page number for landscape pages
Page numbers on landscape pages appear at the side edge rather than the bottom, which can look awkward in print. The cleanest solution is to use a text box in the footer, rotate it 90 degrees, and position it at the bottom edge of the landscape page. Alternatively, many institutions accept page numbers in the normal footer position on landscape pages — check your submission guidelines before spending time on this.
Step 9 — Embed Fonts Before Exporting
When you share a Word file with a reader whose machine does not have the same fonts installed, Word substitutes a different font, breaking the visual integrity of your document. When you export to PDF without embedding fonts, readers who open the PDF on older systems may see character substitution. For a submission to a university repository, font embedding is a technical requirement.
Embed fonts in the Word file itself
- Go to File → Options → Save (Windows) or Word → Preferences → Save (Mac).
- Check Embed fonts in the file.
- Optionally check Embed only the characters used in the document (reduces file size with no visual impact).
- Do NOT check “Do not embed common system fonts” if your document uses non-standard fonts — embed everything.
- Save the document. The .docx file size will increase slightly.
Export to PDF with embedded fonts
Use File → Save As → PDF (not Print → Save as PDF). On Windows, click Options in the Save As dialog and ensure “ISO 19005-1 compliant (PDF/A)” is checked if your institution requires an archival-standard PDF — this format mandates font embedding. On Mac, choose “Best for electronic distribution and accessibility” from the format dropdown. University repositories including EThOS (UK) and ProQuest ETD (US) require PDF/A compliance for permanent archiving.
Step 10 — Add Accessibility Tags
As of 2026, several UK and US universities require electronic theses to meet WCAG 2.1 Level AA accessibility standards before submission to institutional repositories. Even where not yet mandatory, accessibility tagging makes your PDF navigable by screen readers, which is increasingly expected in academic publishing. The good news: if you have followed Steps 1–9, most of the accessibility structure is already built. What remains is verification and a few additions.
Run the Word Accessibility Checker
- Go to Review → Check Accessibility.
- The panel on the right lists errors (must fix), warnings (should fix), and tips (consider fixing).
- Common errors: images with no alt text, tables with no header row, missing document title in Properties.
Add alt text to all images and figures
Right-click any image, chart, or diagram and choose Edit Alt Text. Write a concise description of what the image shows (e.g., “Bar chart showing mean response times across three experimental conditions”). Do not start with “Image of” — screen readers already announce the element type. Purely decorative elements (rules, borders) should be marked as decorative.
Set the document title in Properties
Go to File → Info → Properties (right-hand panel) and fill in the Title field with your thesis title. This metadata is carried into the PDF and is required for WCAG 2.1 compliance.
Ensure tables have header rows
Click inside any data table. Under Table Design, check Header Row. Then right-click the top row and choose Table Properties → Row → check “Repeat as header row at the top of each page”. This tells assistive technology that the first row contains column labels, not data.
Export with tags preserved
When exporting to PDF via File → Save As, click Options and check Document structure tags for accessibility. This embeds the heading hierarchy, alt text, list structure, and table headers as PDF tags that screen readers use to navigate. Do not use the Print to PDF method — it strips these tags completely.
Pre-Submission Word Checklist
Run through every item below before generating your final PDF. A check on each confirms your document is structurally sound.
| Area | Check |
|---|---|
| Styles | All body text uses the Normal style; all headings use Heading 1/2/3; no ad-hoc bold or size overrides exist outside named styles. |
| Heading numbering | Multilevel numbering is continuous across all chapters; no manual numbers typed anywhere. |
| TOC | TOC has been updated (Update entire table). Page numbers match actual pages. Wording matches headings exactly. |
| Captions | All figures and tables use References → Caption; no captions are typed manually. |
| List of Figures / Tables | Both lists updated and page numbers match document. |
| Page numbering | Front matter uses Roman numerals; Chapter 1 onward uses Arabic from page 1; “Link to Previous” is OFF in chapter headers/footers. |
| Section breaks | Next Page section breaks between all major sections (front matter, each chapter, bibliography, appendices). |
| Cross-references | Ctrl+A → F9 run twice; all cross-reference fields show correct numbers and page references. |
| Landscape pages | Wide tables use isolated landscape sections; surrounding pages remain portrait; page numbers are present. |
| Fonts | Font embedding enabled in File → Options → Save; exported PDF shows “(Embedded Subset)” for every font in Acrobat’s File Properties → Fonts tab. |
| Accessibility | Word Accessibility Checker shows zero errors; all images have alt text; tables have header rows; document Title is set in Properties. |
| PDF export method | Exported via File → Save As → PDF (not Print), with “Document structure tags for accessibility” and PDF/A checked. |
| Appendices | All appendices appear in the TOC with correct labels and page numbers; appendix heading is styled as Heading 1 so Word detects it. For labelling and ordering rules, see the thesis appendix guide. |
| Final read-through | PDF opened and scrolled through entirely to check no blank pages, no orphaned headings at page bottoms, no image bleed. |
FAQ
Why does my automatic TOC show incorrect page numbers even after I update it?
The most common cause is inserting or deleting content after updating the TOC, then not updating it again before printing or exporting. Right-click the TOC → Update Field → Update entire table immediately before every export. If numbers are still wrong, check that no manual page breaks have been inserted inside heading paragraphs, as these can miscount pages. If the document has tracked changes, accept all changes before updating the TOC.
How do I stop my multilevel heading numbers from restarting unexpectedly mid-chapter?
This usually happens when a paragraph between two Heading 1 headings (such as a Normal paragraph, a figure, or a table) breaks the list continuation. Right-click the heading that restarted, choose List → Set Numbering Value → Continue from previous list. If the problem recurs across chapters, ensure you are using section breaks of type “Next Page” (not “Continuous”) between chapters, as continuous breaks can sometimes confuse list tracking. The University of Michigan library guide recommends defining the multilevel list once from the very first Heading 1 in the document so numbering is rooted from the start.
Can I format a thesis in Word without using the Styles pane — just bold and resize manually?
Technically yes, but you will lose every benefit covered in this guide: no automatic TOC, no List of Figures, no cross-references, no heading numbering, and no accessibility tags in the exported PDF. Manual formatting also means one style change (say, your supervisor asks you to change all chapter headings from 14pt to 16pt) requires hunting through hundreds of paragraphs. Using Styles takes an extra hour to set up but saves many hours of manual correction later and is required by most institutional submission systems.
What is the difference between a Next Page section break and a Continuous section break for page numbering?
A Next Page section break starts the new section on the following page — this is what you need for Roman-to-Arabic page-number transitions, for landscape pages, and for chapter separations. A Continuous section break starts a new section on the same page — it is useful for multi-column layouts within a page but should not be used for page-number transitions, as it can produce unexpected numbering behaviour when combined with different number formats.
Does my university require PDF/A for thesis submission?
Many do. The UK’s EThOS repository and the US ProQuest ETD system both require or strongly prefer PDF/A for long-term archival. The University of California Irvine’s 2026 Thesis Formatting Manual explicitly lists PDF/A as a submission requirement. Check your institutional graduate school guidelines — look for terms like “PDF/A”, “archival PDF”, or “ISO 19005-1 compliant”. When in doubt, export as PDF/A, since it is a superset of standard PDF (it adds font embedding and accessibility constraints, never removes them).
Should I write my thesis in Word or LaTeX in 2026?
It depends on your discipline and the volume of mathematical notation. LaTeX produces typographically superior output for equation-heavy STEM theses, handles bibliography management natively through BibTeX, and never suffers from the style-drift issues described in this guide. Word is preferable when your supervisor or collaborators need to track-change in a familiar environment, when your thesis is predominantly prose with few equations, or when your institution provides no LaTeX template. For a detailed comparison of both environments see the guide on LaTeX vs Word for thesis writing.
Save Time on the Hard Parts
Formatting is only one layer of thesis work. Tesify handles the structural and argumentative scaffolding — helping you build and refine your research chapters so you arrive at the formatting stage with solid, examiner-ready content. If your thesis is also over its word limit, the guide on cutting thesis word count without losing substance walks through a four-pass editing process you can apply before running this formatting checklist. The Tesify Auto Bibliography feature generates correctly formatted reference lists you can paste directly into your properly styled Word document, eliminating the single most error-prone manual task in thesis preparation.
Write your thesis with AI
Structure, draft, cite, and format your thesis faster with Tesify’s AI writing tools, automatic bibliography, and plagiarism checker. Free to start, no credit card required.





Leave a Reply