How to Make a Thesis Gantt Chart and Timeline in 2026
A thesis Gantt chart is the single most effective planning tool a graduate student can build. Without one, the four-month gap between “I should start the literature review” and “my submission deadline is next week” closes with terrifying speed. With one, every phase of your dissertation — from topic confirmation through final formatting — has a visible slot on a calendar, a realistic duration, and a dependency trail that tells you exactly what must happen before the next task can begin. This guide walks you through how to make a thesis Gantt chart from scratch in 2026, whatever your degree level or tool of choice.
Whether you are writing a 15,000-word master’s thesis or an 80,000-word PhD dissertation, the underlying planning logic is identical: break the project into its component phases, estimate how long each one realistically takes, anchor everything to your submission deadline by working backwards, and then build in deliberate buffer weeks for the corrections, supervisor feedback loops, and life events you cannot predict. The result is a chart that travels with you for the entire project — a live document you update, not a pretty diagram you abandon after week two.
What Is a Thesis Gantt Chart and Why Does It Matter?
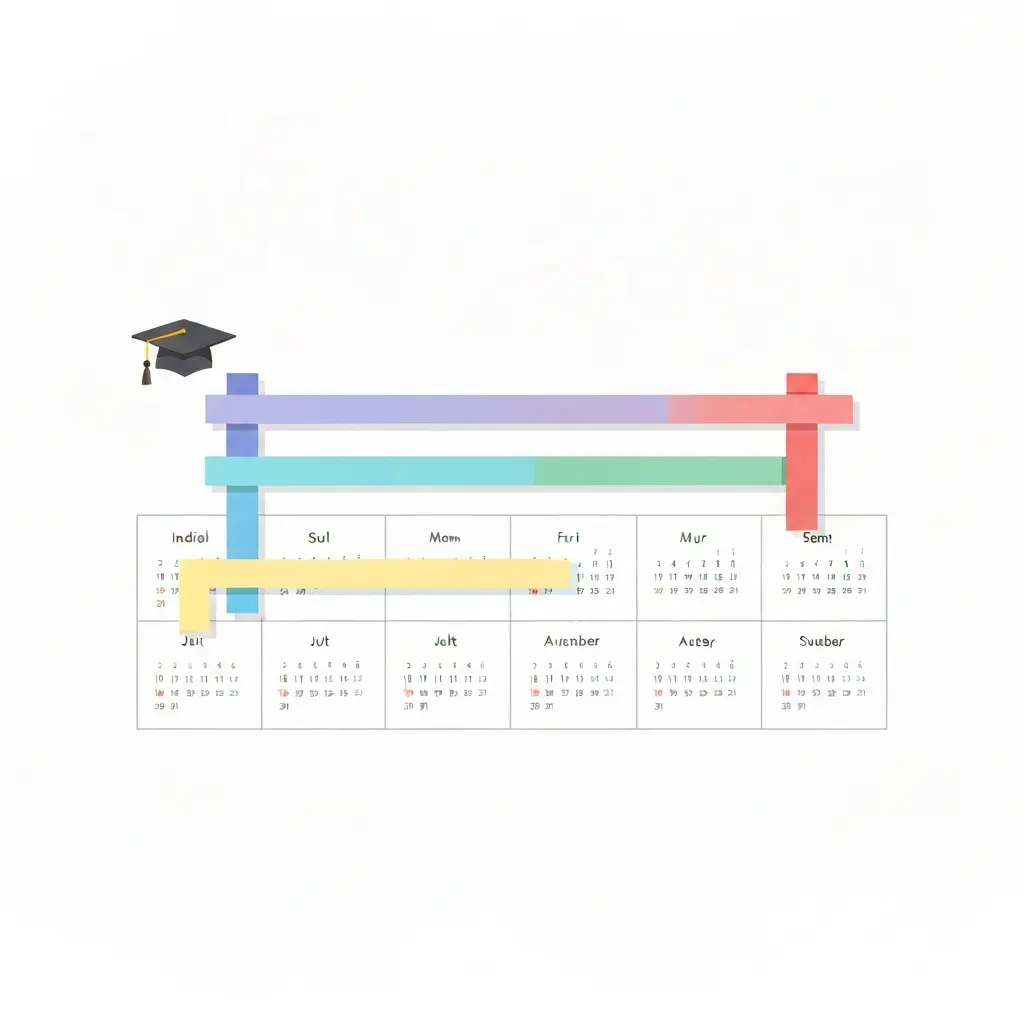
A Gantt chart is a horizontal bar chart where each row is a task and the bar’s length represents how long that task takes. In a thesis context, it transforms an intimidating multi-year (or multi-month) project into a set of visible, manageable phases that run in sequence or overlap. Named after Henry Gantt who popularised it in the early twentieth century, the chart has become standard in project management — and for precisely the same reasons it belongs in every graduate student’s toolkit.
The core benefit is clarity about dependencies. You cannot write a literature review chapter before you have done the reading. You cannot collect data before your ethics application is approved. A Gantt chart makes these dependencies visible: you can see immediately why a two-week delay in ethics approval cascades into a compressed data-collection window, and you can adjust every downstream task accordingly. Without that visual map, delays feel like isolated bad luck. With it, you can see their full knock-on effect — and plan around them.
A secondary benefit is supervisor communication. When you attend a progress meeting with a Gantt chart in hand, you move from “I’ve been working on it” to “here is where I am, here is where I planned to be, and here is my adjusted timeline.” Supervisors respond better to structured evidence of planning. In many doctoral programmes, the confirmation of candidature or equivalent milestone explicitly requires a research timeline — and a Gantt chart is the most credible form that document can take.
Step 1: Map Every Dissertation Phase Before You Open Any Tool
The single most common mistake is opening a spreadsheet and starting to type task names before you have a complete mental picture of the project. Spend thirty minutes before touching any software writing down every major phase your dissertation requires. For most graduate students the list looks like this:
- Topic confirmation and proposal writing — typically 2–4 weeks for master’s; 4–8 weeks for doctoral programmes including committee approval
- Literature search — 3–8 weeks depending on field breadth and database access
- Literature review chapter writing — 4–10 weeks, often running in parallel with later reading
- Research design and methodology chapter — 2–5 weeks
- Ethics application and approval — 4–12 weeks if human participants are involved; plan for the worst-case scenario
- Pilot study or instrument testing — 2–4 weeks if applicable
- Data collection — highly variable: 4 weeks for a survey study; 6–18 months for longitudinal fieldwork
- Data analysis — 3–10 weeks depending on method (quantitative statistical analysis vs. qualitative thematic coding)
- Results and discussion chapter writing — 4–8 weeks
- Introduction and conclusion chapters — 2–4 weeks (often written last)
- Full draft review and self-editing — 2–3 weeks
- Supervisor feedback rounds — 2–4 weeks per round; budget for at least two rounds
- Corrections and revisions from feedback — 1–3 weeks per round
- Final formatting, referencing check, and proofreading — 1–2 weeks
- Submission preparation — 1 week: binding, digital submission platform upload, ethics sign-off, declaration forms
Write this list in a notebook, not a spreadsheet. Resist the urge to estimate durations yet. The purpose of this step is completeness — making sure no phase is forgotten before you build the visual structure.
Step 2: Work Backwards from Your Submission Deadline
Your submission deadline is the fixed anchor point of the entire chart. Everything else is calculated backwards from it. Starting from submission day, subtract the time required for each phase in reverse order: formatting week, corrections round, supervisor feedback, full draft review, and so on back to your current position in the project.
This backwards-planning technique immediately surfaces the core tension in every thesis: the total duration required almost always exceeds the time available. When that happens at the planning stage rather than four weeks before submission, you have options — you can narrow the research scope, streamline the methodology, reduce the literature review breadth, or negotiate an extension before the deadline arrives. Discovering the same mismatch in week thirty leaves you with none of those options.
Mark the following as fixed milestones on your timeline before you add any task bars:
- Submission deadline (hard)
- Confirmation of candidature or equivalent progression milestone
- Ethics committee submission deadlines (these often have specific monthly or quarterly windows)
- Scheduled supervisor meetings
- Conference presentations or publications you are committed to
- Academic year registration renewal dates
- Funding end dates if your stipend or scholarship has a fixed duration
University Resource
Dissertation Planning & Gantt Chart Guide — University of Westminster
Step-by-step guidance on using Gantt charts for dissertation planning, including recommended tools and downloadable Excel templates, from the University of Westminster academic skills team.
View the Dissertation Planning Guide (University of Westminster)
Step 3: Build the Chart in Your Chosen Tool
Once you have your phase list and your milestone anchors, you are ready to build. The tool choice matters less than people think — a well-maintained chart in Google Sheets beats an abandoned project in specialist software. Here is a practical overview of the main options in 2026:
Google Sheets or Microsoft Excel
The most widely used approach for thesis Gantt charts. Build a table with phases in column A, start week in column B, duration in column C, and a series of week-number columns to the right. Use conditional formatting to colour cells when they fall within a task’s date range. University of Leicester and University of Southampton both publish free Excel templates designed specifically for dissertation timelines — search for them on your institution’s research skills pages. The advantage of a spreadsheet is that you own the file, share it with supervisors via any method, and are never dependent on an external service staying operational for the life of your degree.
Notion
Notion’s timeline database view provides a Gantt-style display with the added benefit of linking each task bar to a full project page containing notes, references, and supervisor feedback. It syncs across devices and supports real-time collaboration, which matters if you have multiple supervisors or research assistants. The free tier is sufficient for individual thesis use. The main limitation: it requires internet access and Notion’s architecture has changed significantly since 2022, so older tutorials may not reflect current features.
GanttProject
A free, open-source desktop application that produces professional Gantt charts and exports to PDF and PNG for inclusion in confirmation documents and progress reports. It handles task dependencies (the formal predecessor/successor relationships) more elegantly than a spreadsheet, which matters for complex doctoral timelines where ethics approval genuinely blocks everything downstream. The learning curve is steeper than a spreadsheet but the output is more polished.
ProjectLibre
An open-source alternative to Microsoft Project, free for individual use. More feature-rich than GanttProject and useful if your programme requires a formal project plan with resource allocation and critical path analysis. Worth considering for funded research projects with team members. Overkill for a master’s dissertation; potentially appropriate for a large doctoral project.
Instagantt or TeamGantt (free tiers)
Web-based tools with cleaner interfaces than spreadsheets and more Gantt-specific features than Notion. Both offer free individual tiers that are sufficient for dissertation use. The risk with any web service is feature gating or pricing changes over a 3–4 year doctoral timeline. Export your chart to PDF monthly as a backup regardless of which online tool you use.
Step 4: Assign Realistic Duration Estimates and Add Buffer
The most common planning error after omitting phases entirely is underestimating how long each phase takes. Graduate students, especially those in their first year, systematically underestimate reading and writing time. The following benchmarks are drawn from academic skills guidance at LSE, the University of Manchester, and doctoral programme documentation from multiple Russell Group universities:
- Reading one academic journal article: 30–90 minutes for careful analytical reading with notes
- Literature review chapter (8,000–12,000 words): 8–14 weeks from first systematic search to polished draft
- Ethics application: 2 weeks to write; 4–12 weeks waiting for committee decision
- Qualitative data analysis (interview transcripts): 1–2 hours per transcript for initial coding; 15–30 transcripts typical
- Quantitative analysis (survey data): 2–6 weeks for cleaning, analysis, and visualisation depending on dataset size
- Supervisor feedback round: 2–4 weeks for the supervisor to return comments; 1–3 weeks for you to work through revisions
- Proofreading and formatting: 1–2 weeks; longer if your institution requires specific formatting that your word processor handles poorly
Once you have assigned durations to every phase, add a 20–30% buffer to each task bar before you look at whether the total fits inside your deadline. This buffer is not padding — it is the realistic allowance for the first estimate being wrong, which it almost always is. If the buffered timeline still fits inside your deadline, you are in good shape. If it does not, you have a scoping problem to solve now rather than a crisis to manage later.
In addition to per-task buffers, add a dedicated buffer block of 2–4 weeks at the end of your plan — after all tasks are nominally complete but before the submission date. This terminal buffer absorbs the unpredictable: illness, a supervisor sabbatical, a technical failure in your data collection instrument, or simply the reality that “final formatting” always takes longer than anyone expects.
Step 5: Make the Chart a Live Working Document
A Gantt chart that is built once and never updated is a prediction, not a plan. Set a recurring calendar appointment — weekly on a fixed day — to spend fifteen minutes updating your chart. The update process is simple:
- Mark tasks that have been completed. Use colour or a completion percentage column — any visual indicator that gives you an honest picture of progress.
- Adjust the start date of any task that slipped. Do not leave a task bar starting on a Monday when you know you actually started on the following Wednesday. The chart is only useful if it reflects reality.
- Recalculate downstream dates. If data collection ran three weeks long, what does that do to the analysis window? Move every subsequent bar accordingly and check whether the revised timeline still clears your terminal buffer.
- Flag risks. If a task is in progress but running behind, note the risk explicitly. A brief annotation — “ethics committee delayed, decision now expected [date]” — turns a lurking problem into a tracked item with a date.
- Bring the updated chart to every supervisor meeting. A live chart is a conversation catalyst: it shows your supervisor exactly where you are, which risks you have identified, and what decisions or support you need from them.
Tool Comparison: Which Gantt Chart Software Is Best for a Thesis in 2026?
| Tool | Best For | Cost | Offline? |
|---|---|---|---|
| Google Sheets | Quick setup, easy sharing with supervisor | Free | Limited |
| Excel | Offline use, institutional template compatibility | Free via university licence | Yes |
| Notion | Task notes + timeline in one workspace | Free (personal) | No |
| GanttProject | Formal dependencies, PDF export for progress reports | Free (open source) | Yes |
| ProjectLibre | Complex funded research with resource allocation | Free (open source) | Yes |
| Instagantt / TeamGantt | Clean web interface, team collaboration | Free tier available | No |
Common Mistakes That Ruin Thesis Timelines
After the planning principles, the most valuable thing to learn is what goes wrong. These are the five most common Gantt chart mistakes made by graduate students:
1. Planning at the Phase Level and Not the Task Level
“Literature review: 8 weeks” is not a plan — it is a guess. A plan breaks that phase into: systematic database search (1 week), initial screening of results (3 days), full-text reading of selected papers (3 weeks), critical note-taking and synthesis (2 weeks), first draft of chapter (2 weeks). Each of those sub-tasks has a visible slot on the calendar. Phase-level planning gives you no early warning when you are behind.
2. Not Planning Supervisor Response Time
Supervisors are busy. A chapter submitted for feedback on a Friday will not have comments returned the following Monday. Budget 2–4 weeks per feedback round as a fixed task bar labelled “awaiting supervisor comments.” This is not lost time — use it to work on a different section — but it must appear on the chart so you do not plan as though the chapter progresses without interruption.
3. Setting the Chart as Read-Only After the First Week
If you build your chart in week one of the project and never touch it again, it becomes useless by week four when the first task runs over. A Gantt chart is not a contract — it is a living model. Update it weekly without guilt. Revised plans that reflect reality are infinitely more useful than pristine plans that bear no relationship to what is actually happening.
4. Front-Loading the Timeline
A timeline that looks achievable in month one by assuming consistent, maximal productivity throughout the project will fail. Energy, motivation, and concentration fluctuate over a multi-year degree. Build in slower periods — the week after a conference presentation, the month around exam marking if you are a teaching assistant, the weeks around major life events you can anticipate. A plan that only works under ideal conditions is not a plan.
5. Forgetting the Administrative Tasks
Thesis submission is not just submitting a Word document. Factor in: format checking by the graduate school, binding and printing deadlines if your institution requires physical copies, digital submission platform registration and upload, declaration and certification forms, and any institutional sign-off requirements. These collectively take 3–10 days at a moment when you have no cognitive slack. They should be a visible block on your chart, not a surprise.
Frequently Asked Questions About Thesis Gantt Charts
How far in advance should I build my thesis Gantt chart?
Build it at the very start of your programme — in the first two weeks if possible, even before your research proposal is finalised. An early chart will be inaccurate and you will revise it substantially as your project comes into focus. That is fine. The discipline of building it early forces you to think through the full project arc from the beginning, which produces better proposals and better-scoped research questions.
Should a master’s thesis Gantt chart look different from a PhD Gantt chart?
In structure, no — both use the same row-task, bar-duration, horizontal-time format. In scale and complexity, yes. A master’s timeline typically spans one academic year (nine to twelve months) and fits on a single A4 or A3 sheet. A PhD chart typically spans three to four years, requires multiple sub-chart pages or a zoomed-out annual view alongside a detailed quarterly view, and includes funding milestones, confirmation/progression checkpoints, publication targets, and conference commitments that a master’s plan does not.
Can I use my thesis Gantt chart in my confirmation document or progress report?
Yes — and you should. Most doctoral programmes require a timeline as part of the confirmation of candidature or annual progress review. A Gantt chart is the most legible and credible form this can take. Export it to PDF from whatever tool you use, include it as an appendix or inline figure, and be prepared to walk your supervisory panel through it during the meeting.
What is a realistic thesis Gantt chart duration?
For a master’s dissertation (12,000–20,000 words): 9–12 months from proposal approval to submission. For a doctoral thesis (70,000–100,000 words): 3–4 years from registration to submission, though funded doctoral stipends in the UK are typically 3.5 years to account for real-world variability. For a professional doctorate or practice-based PhD: 4–6 years part-time. In all cases, the Gantt chart should end at the institutional submission deadline, not at an optimistic “if everything goes perfectly” date.
What happens if my research takes longer than the chart planned?
You update the chart — that is the only correct response. A Gantt chart that is maintained through schedule changes gives you a continuously accurate picture of how the extension affects every downstream phase, and it gives your supervisor and institutional oversight committee the documentation they need to support an extension request if one becomes necessary. A chart that stopped being updated three months ago provides none of that.
Key Takeaways
- Start with a complete phase list, not a tool. Miss one phase at the planning stage and it will ambush you mid-project.
- Work backwards from your fixed submission deadline to surface timeline mismatches before they become crises.
- Add 20–30% buffer to every task estimate and a 2–4 week terminal buffer before the deadline.
- Build in explicit task bars for supervisor feedback rounds and administrative submission tasks — these are not invisible.
- Update your chart weekly. A live chart that reflects the current state of your project is the only version that has any value.
- Choose any tool that you will actually maintain: a diligently updated spreadsheet beats abandoned specialist software every time.
- Bring your chart to every supervisor meeting as evidence of structured planning and as a prompt for risk conversations.
Write your thesis with AI
Structure, draft, cite, and format your thesis faster with Tesify’s AI writing tools, automatic bibliography, and plagiarism checker. Free to start, no credit card required.


Leave a Reply