
US Student Visa (F-1) Guide 2026: SEVIS, I-20, DS-160, Interview and OPT
Getting a US student visa F-1 approved comes down to six sequential steps, and missing the order — or the paperwork that has to exist before the next step can happen — is what actually causes delays, not the interview itself. Every year, thousands of admitted students stall because they tried to book a visa interview before their SEVIS fee had registered, or showed up to their appointment with financial evidence that didn’t match what their Form I-20 stated. This guide walks through the process in the order US immigration actually requires it, with the fees and numbers verified against official government sources as of July 2026.
One thing before you read further: immigration rules and fees change, sometimes with little notice. Everything below reflects the official position at time of writing, with direct links to the government pages that govern each step. Always confirm the current fee, form version, and requirement on the linked official source before you pay anything or submit an application — this article is a planning guide, not a substitute for USCIS, the Department of State, or your university’s international student office.
Quick answer: The F-1 visa process runs in six steps: get accepted and receive Form I-20 from an SEVP-certified school, pay the I-901 SEVIS fee (currently $350), complete the DS-160 online application, pay the MRV visa fee (currently $185 for F visas) and book your interview, gather financial evidence matching your I-20’s cost figure, then attend the interview at a US embassy or consulate. After graduation, F-1 students in good standing can work in the US for 12 months on Optional Practical Training (OPT), extendable by 24 more months for STEM-eligible degrees.
What the F-1 Visa Actually Is
The F-1 is the primary US nonimmigrant visa for academic students — undergraduate, graduate, and language-programme students enrolled at a school certified by the Student and Exchange Visitor Program (SEVP). It is a dual-intent-restricted visa: you must convince a consular officer you intend to return home after your studies, even though many F-1 students go on to work in the US afterward through OPT or a subsequent work visa. If you’re weighing the US against other destinations, it’s worth comparing how the process differs elsewhere — our guides to the Canada study permit, Ireland study visa, and New Zealand student visa cover the equivalent steps for those countries, and our broader studying abroad guide compares costs and timelines side by side.
Step 1: Acceptance and Form I-20
You cannot start any part of the visa process without an offer of admission from an SEVP-certified school and the Form I-20, “Certificate of Eligibility for Nonimmigrant Student Status,” that the school’s international office issues once you confirm enrolment. If you’re still choosing where to apply, our graduate school USA application guide covers admissions requirements, GRE policy, and funding before you get to this stage.
Practical tip: Check every figure on your I-20 the moment you receive it — the estimated cost of attendance listed there is the number your financial evidence must match or exceed at the interview. An I-20 with an outdated tuition figure can cause a mismatch that raises questions you don’t need at your interview.
Step 2: Pay the I-901 SEVIS Fee
Once you have your I-20, you pay the SEVIS I-901 fee, which funds the Student and Exchange Visitor Information System that tracks F and M students throughout their US stay. As of July 2026, the standard I-901 SEVIS fee for F-1 students is $350, paid online at FMJfee.com using the SEVIS ID number printed on your I-20. This figure and the current payment process are confirmed on the official ICE SEVIS I-901 fee page and the Department of Homeland Security’s Study in the States portal — confirm the exact amount there before you pay, since SEVP fee rules have been revised before.
Practical tip: Pay this fee at least a week before you plan to schedule your interview, ideally two. Payment confirmation can take three to five business days to register in the system, longer if your bank flags an unusual international charge, and your consular officer will want to see the receipt.
Step 3: Complete the DS-160
The DS-160 is the online nonimmigrant visa application every F-1 applicant files with the Department of State. It asks for your travel history, education background, family details, and the SEVIS ID from your I-20. You’ll need a passport-style digital photo that meets the State Department’s exact specifications, and the system times out after 20 minutes of inactivity, so gather every document before you start.
Practical tip: Print the DS-160 confirmation page with its barcode immediately after submitting — you cannot retrieve it later without your application ID, and you need it for your interview appointment.
Step 4: Pay the MRV Fee and Book Your Interview
The MRV (Machine Readable Visa) fee is the nonrefundable visa application processing fee. For F, M, and most non-petition-based nonimmigrant visa categories, the current fee is $185, confirmed directly on the Department of State’s official Fees for Visa Services page. Note that under the 2025 One Big Beautiful Bill Act, a separate $250 “Visa Integrity Fee” was created for nonimmigrant visa categories; as of mid-2026 the implementing regulation had not been published and the fee was not yet being collected. Check the travel.state.gov fees page directly before you budget, since this could change without much notice.
Practical tip: Interview wait times vary enormously by embassy and season — some posts book out weeks in advance around July and August. Book your slot the moment your SEVIS fee clears rather than waiting until closer to your programme start date.
Step 5: Financial Evidence
Your I-20 states an estimated annual cost of attendance. You need to show funds covering at least that amount for your first year, through a combination of personal or family bank statements, a scholarship or assistantship award letter, or an official loan approval. The specific documents accepted vary by consular post, so check your embassy’s own webpage under travel.state.gov for post-specific requirements.
Practical tip: Bank statements that look freshly inflated right before the interview date are one of the most common red flags consular officers cite. Where possible, show an account with a stable balance over several months rather than a single large deposit made days before you apply.
Step 6: The Visa Interview
The interview itself is usually short — often under ten minutes. The officer is assessing two things: whether you’re a genuine student with a credible academic plan, and whether you have sufficient ties to your home country to be convinced you’ll return after your studies (or transition properly to another lawful status). Bring your passport, I-20, SEVIS fee receipt, DS-160 confirmation page, admission letter, and financial evidence — organised, not stuffed loose into a folder.
Practical tip: Answer only the question asked, in your own words. Officers interview hundreds of students a day and can tell a memorised script from a genuine answer about why you chose your specific programme.
Maintaining F-1 Status Once You Arrive
You can enter the US up to 30 days before your programme’s start date listed on your I-20. Once enrolled, you must maintain a full course load each term, keep your I-20 information current with your Designated School Official (DSO) whenever you change address, major, or programme length, and get authorisation before any off-campus employment. On-campus work is generally capped at 20 hours per week during term time. Falling out of status — even unintentionally, by dropping below full-time enrolment without approval — can jeopardise both your current stay and future US visa applications, so any change to your programme should go through your DSO first.
OPT: 12 Months of Post-Completion Work Authorisation
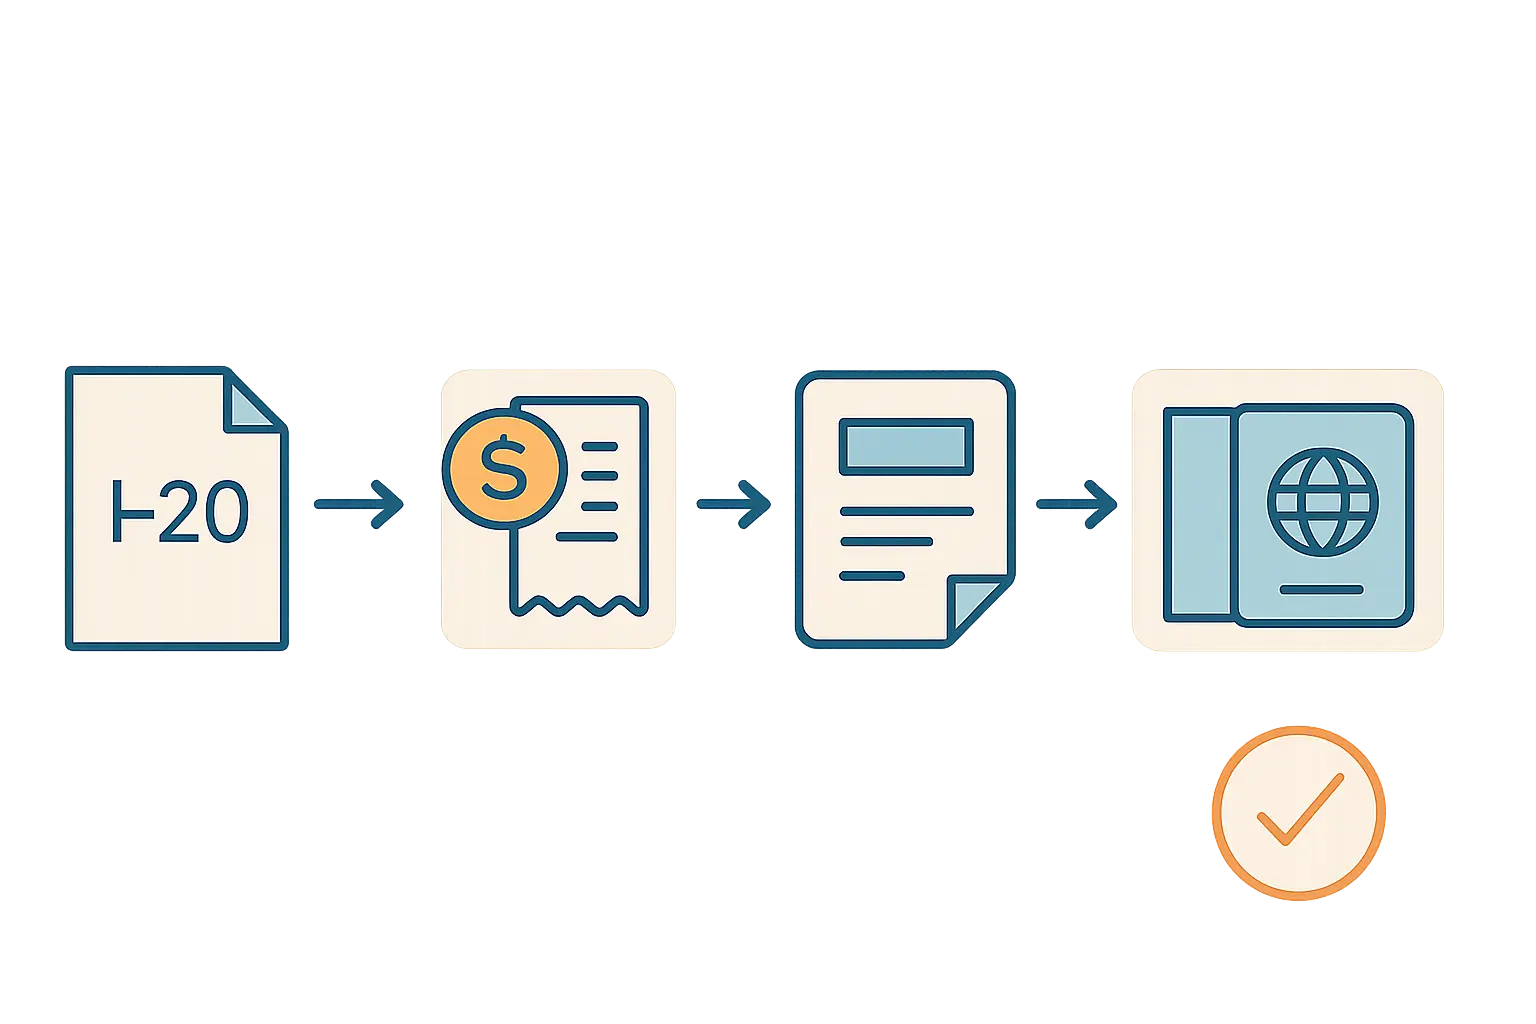
Optional Practical Training (OPT) lets F-1 students work in the US in a role directly related to their field of study for up to 12 months after completing their degree, without needing a separate work visa. You apply by filing Form I-765 with USCIS, generally starting up to 90 days before your programme ends and no later than 60 days after. Confirm current I-765 fees and processing guidance directly on the official USCIS OPT and STEM OPT page, since USCIS fee schedules are revised periodically.
Practical tip: Your DSO has to recommend OPT in SEVIS before you file the I-765 — start that conversation with your international office at least a semester before graduation, not the month before.
STEM OPT: The 24-Month Extension
Graduates of a degree on the Department of Homeland Security’s STEM Designated Degree Program List can apply for a 24-month extension of OPT, bringing total post-completion work authorisation to 36 months. To qualify, your employer must be enrolled in E-Verify, and you’ll need a formal training plan (Form I-983) that your employer and DSO both sign off on. OPT and STEM OPT both carry unemployment limits — accrue too many days without qualifying employment and you can fall out of status — but the exact day counts set by federal regulation have changed before, so confirm the current cap on the official USCIS STEM OPT page rather than relying on a fixed number here.
Practical tip: File your STEM OPT extension application before your initial 12-month OPT authorisation expires — USCIS provides an automatic extension of your work authorisation while the STEM OPT application is pending, but only if you filed on time.
Common F-1 Mistakes That Cause Delays or Refusals
- Booking the interview before the SEVIS fee registers. Consular systems check SEVIS status electronically — pay first, wait for confirmation, then book.
- Financial evidence that doesn’t match the I-20 figure. If your I-20 says $45,000 and your bank statement shows $30,000 with no scholarship letter explaining the gap, expect the officer to ask about it.
- Treating the interview as a memorised speech. Officers are trained to spot rehearsed answers; a genuine, specific explanation of why you chose your programme carries more weight than a polished script.
- Working off-campus without authorisation. Even a short unpaid “internship” without CPT or OPT approval can constitute an unauthorised employment violation.
- Missing the OPT filing window. The 90-days-before to 60-days-after filing rule is strict — miss it and you may lose the ability to use OPT at all.
Writing the essays and personal statements that get you the acceptance letter your I-20 depends on is its own process — see our annotated personal statement examples guide for the structural side of a strong US graduate school application. If you’re already deep into the dissertation stage of a US graduate programme and want a faster, cleaner citation and drafting workflow once classes start, Tesify is worth a look — it’s built specifically around thesis writing, plagiarism checks, and automatic bibliography formatting.
FAQ
How long does the F-1 visa process take from I-20 to visa in hand?
Budget at least 2-3 months. You need your I-20 first, then a processing window for the SEVIS fee to register (a few business days), then a visa interview slot, which can range from days to several weeks depending on the US embassy or consulate. Apply for your interview as soon as your I-20 is issued.
Can I work off-campus on an F-1 visa before OPT?
Generally no. F-1 students can work up to 20 hours per week on-campus during term time, and full-time during official school breaks. Off-campus work before completing your programme requires specific authorisation such as CPT, economic hardship approval, or an approved internship programme — check with your Designated School Official (DSO) before accepting any offer.
What happens if my F-1 visa application is refused?
Most F-1 refusals cite Section 214(b) — the officer wasn’t convinced you have sufficiently strong ties to your home country or a credible plan to return after your studies. You can reapply with stronger evidence, but there’s no formal appeal for a 214(b) refusal. Talk to your international office about what evidence to strengthen before you reapply.
Does the SEVIS fee or visa fee get refunded if I’m refused a visa?
No. Both the I-901 SEVIS fee and the MRV visa application fee are non-refundable, even if your visa is denied. This is confirmed on the official ICE SEVIS and travel.state.gov fee pages, so budget for this risk rather than assuming a refund.
Can I stay in the US after OPT ends if I don’t get a job offer?
You are generally expected to leave the US, transfer to another qualifying programme, or change status once your OPT authorisation and any grace period expire, unless you have secured another valid immigration status such as an approved H-1B change of status. This is a genuinely high-stakes decision — confirm your specific timeline with your DSO and, if needed, an immigration attorney.
Already accepted and heading into your first term? Once you’re settled and coursework or thesis writing begins, Tesify can help with the parts that eat the most time later on — structuring drafts, formatting citations automatically, and catching plagiarism issues before your supervisor does.
Write your thesis with AI
Structure, draft, cite, and format your thesis faster with Tesify’s AI writing tools, automatic bibliography, and plagiarism checker. Free to start, no credit card required.






Leave a Reply