
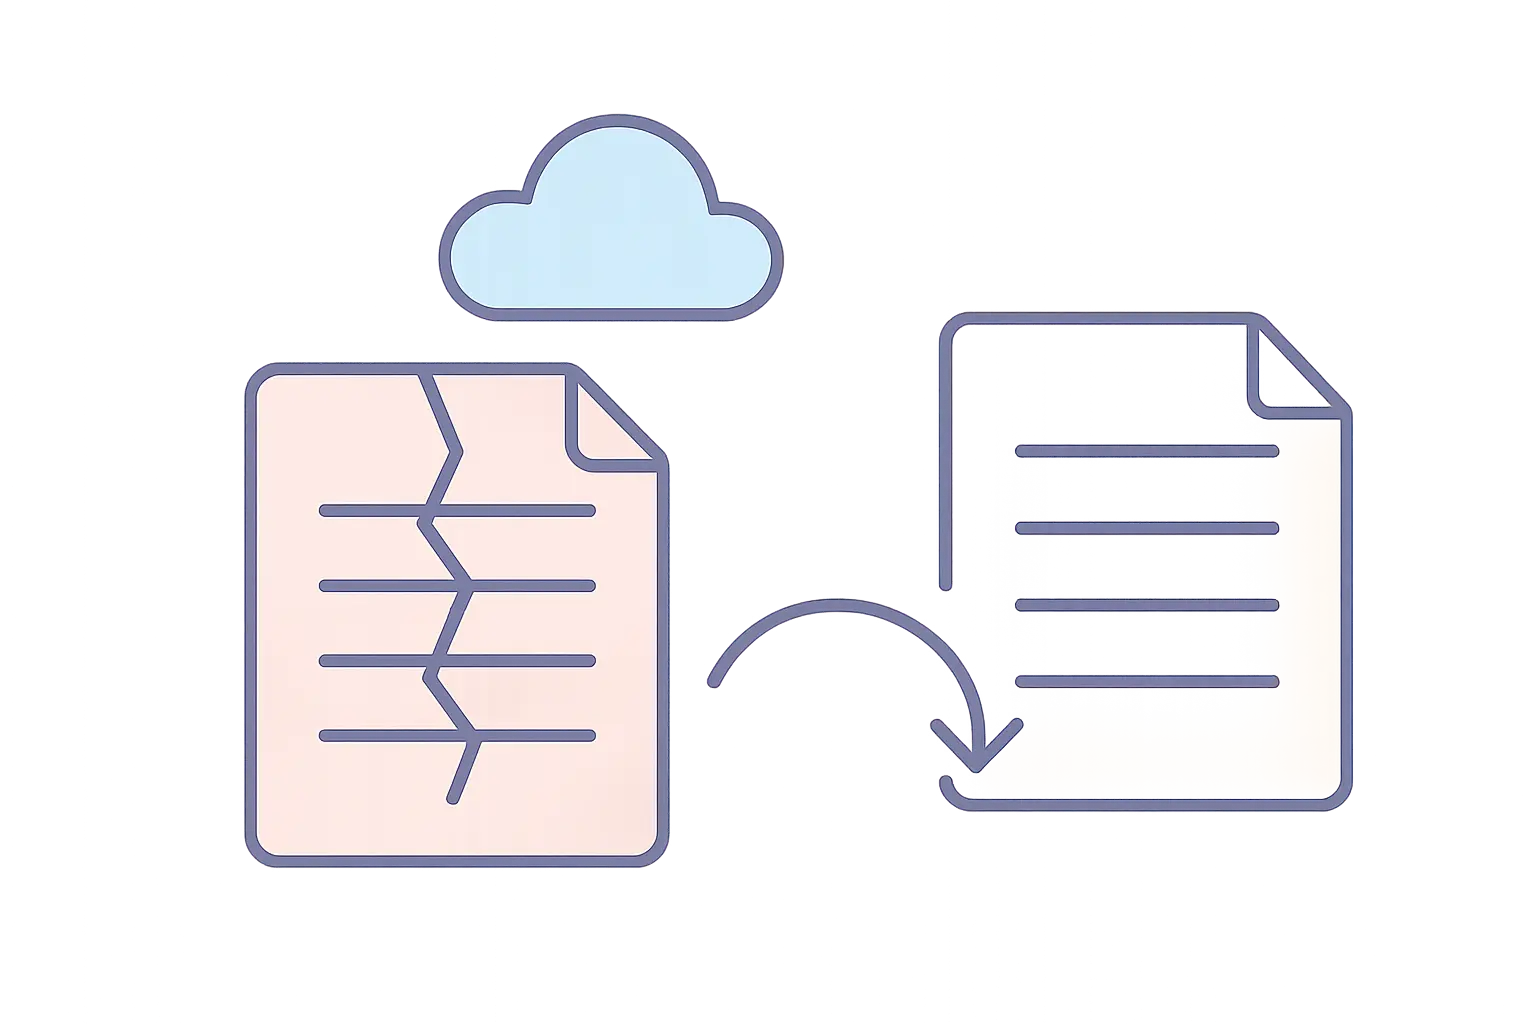
To recover a corrupted or lost thesis file, first make a copy of the damaged file and work only on the copy. Then work through four recovery routes in order: application-level repair, autosave and temporary files, cloud or local version history, and finally raw text extraction. Most theses declared lost are recoverable through one of these.
What should you do in the first five minutes?
Three actions, and one prohibition. Stop using the drive or folder the file was on, because continued writing can overwrite the deleted data you are trying to recover. Make a copy of the damaged file before attempting any repair, since repair tools frequently write over the original. And write down exactly what happened — a crash, a failed sync, an ejected drive — because the cause determines which recovery route will work.
The prohibition: do not repeatedly open and force-close the file. Each failed open can write new, worse state into it. One attempt, then move to a systematic approach.
Which recovery route matches your situation?
| Symptom | First route to try | Realistic outcome |
|---|---|---|
| File opens with garbled characters | Word “Open and Repair”; recover text converter | Text usually recovered; formatting often lost |
| File will not open at all | Open and Repair, then previous versions | Frequently recoverable |
| Deleted by accident | Recycle Bin, then cloud trash, then version history | Almost always recoverable within 30 days |
| Overwritten with a worse version | Version history in OneDrive, Google Drive, Dropbox | Recoverable within the retention window |
| Crash before saving | AutoRecover files | Recovers up to the last autosave interval |
| USB drive not readable | Stop writing; try another machine, then recovery software | Variable |
| LaTeX project broken | Overleaf history or Git log | Nearly always recoverable |
How do you repair a corrupted Word document?
Word has a built-in repair path that most students never find because it is hidden inside the Open dialog rather than offered when a file fails.
- Open Word with no document loaded. Go to File > Open > Browse.
- Select the damaged file but do not double-click it. Single-click to highlight it.
- Click the arrow beside the Open button and choose Open and Repair.
- If that fails, return to the same dialog, set the file-type dropdown to Recover Text from Any File, and open it. This strips all formatting but usually retrieves the words.
- If the document opens but crashes on scroll, the corruption is often in a single element — a table, an embedded object or a corrupted image. Open in Draft view, and copy content out in blocks to a new document, leaving the final paragraph mark behind, since document-level corruption frequently lives in it.
That last detail matters more than it sounds. When copying content into a fresh document, select everything except the last paragraph mark. Copying it carries the corrupted document state into the new file, which is why some students find their “clean” copy fails a day later.
Where are the autosave and temporary files?
Word writes AutoRecover files at intervals, and they survive crashes even when nothing was manually saved. On Windows they live under %AppData%MicrosoftWord, and on macOS under ~/Library/Containers/com.microsoft.Word/Data/Library/Preferences/AutoRecovery/. Search for files with an .asd or .wbk extension, and sort by date modified.
Windows also keeps temporary files beginning with ~$ or ~WR in the same folder as the original document. These are hidden by default; enable hidden files in Explorer to see them. Copy any candidate to your desktop, rename the extension to .docx, and try opening it.
Check the AutoRecover interval while you are there. The default of ten minutes is too long for thesis work; five minutes or less costs nothing and bounds your worst case.
How do you use version history?
Version history is the single most effective recovery route and the most underused. Every major cloud service retains previous versions independently of your own saves.
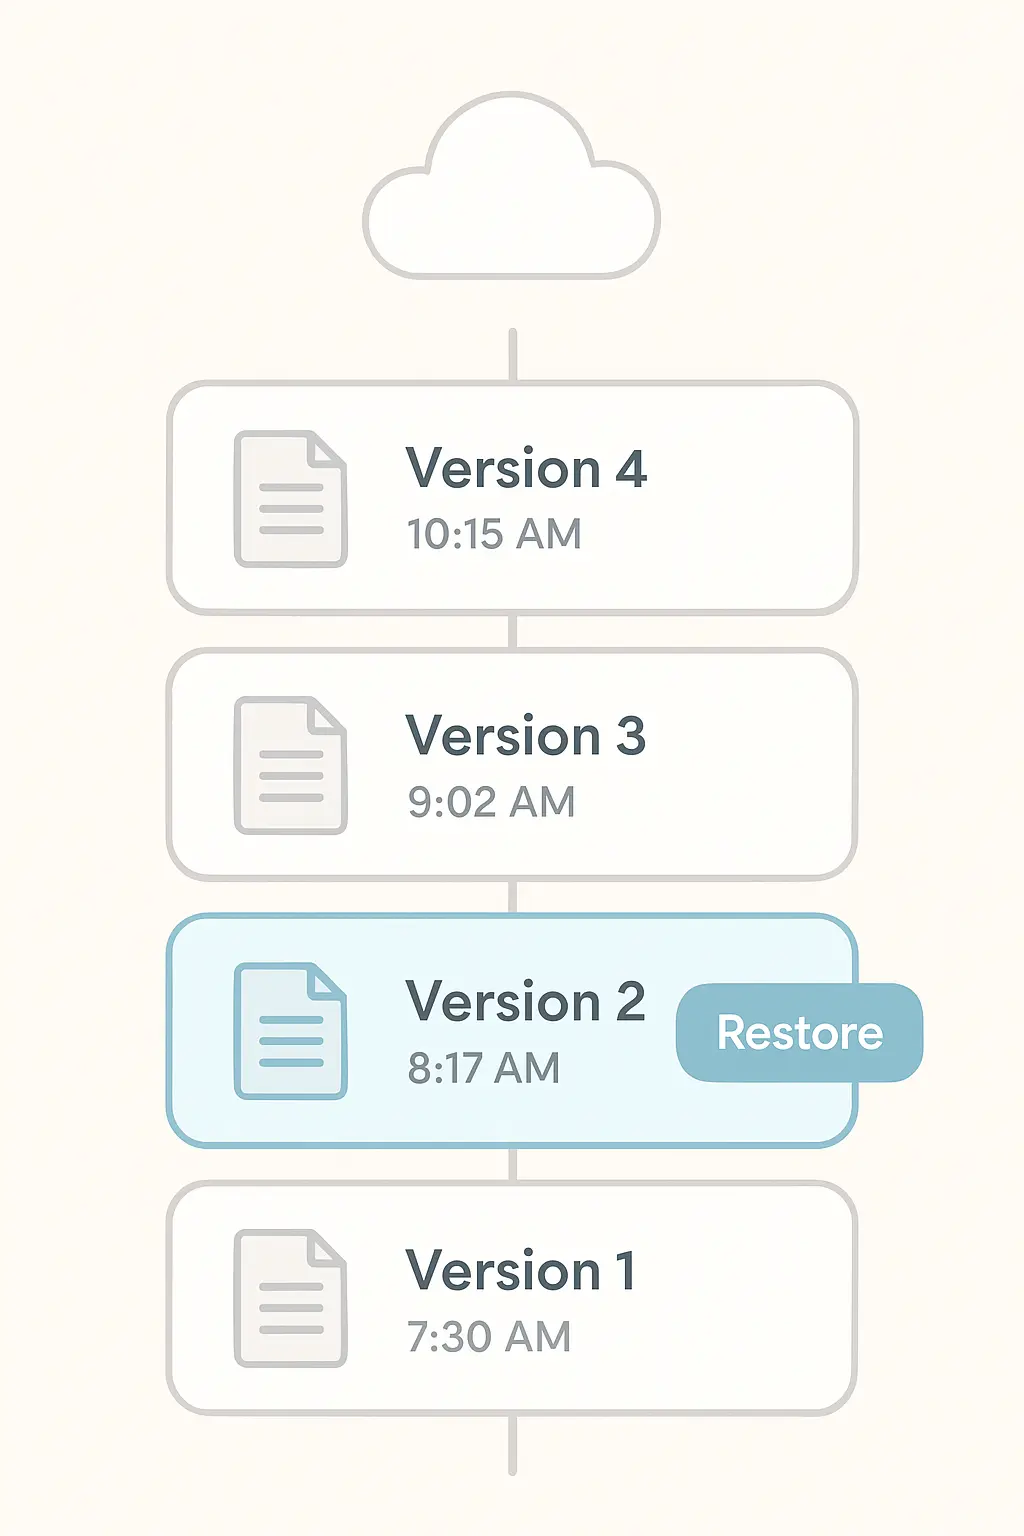
In OneDrive and SharePoint, right-click the file online and choose Version History. In Google Drive, open the document and use File > Version history > See version history, where named and automatic versions are both listed. Dropbox retains 30 days of versions on free and standard plans, accessible through the web interface. Each of these also has a separate deleted-items area with its own retention period, distinct from your operating system’s recycle bin.
Locally, Windows File History and macOS Time Machine both provide file-level restore if they were enabled beforehand — which is the catch. Our guide to backing up a thesis and using version control covers setting these up so that the next incident is a five-minute inconvenience rather than a crisis.
What if the file is on a failed USB drive?
Stop writing to the drive immediately, including declining any prompt from the operating system to format or repair it. Then try the drive in a different machine and, if possible, a different operating system — a drive unreadable in Windows sometimes mounts in macOS or Linux.
If the drive mounts but files are missing, undelete tools can often recover them, provided nothing new has been written. If the drive does not mount at all and the thesis exists nowhere else, this is the point at which professional data recovery becomes proportionate: it is expensive, but so is repeating a year of work.
How do you recover a LaTeX or Overleaf project?
LaTeX users are in a substantially better position, because the source is plain text and therefore rarely corrupts in the way binary formats do.
Overleaf keeps a full project history; open the History panel and restore any earlier state, or download a specific version. If you use Git — locally or through Overleaf’s Git integration — git reflog will find commits that appear lost, and git checkout against an earlier commit restores the file. A “broken” LaTeX project is far more often a compilation error than corruption: read the first error in the log rather than the last, since later errors are usually consequences of the first. Our guides to LaTeX, Word and Overleaf and collaborating on Overleaf cover the wider workflow.
What about a broken reference library?
Losing a Zotero, Mendeley or EndNote library is a distinct problem, and one students often notice only after the document is recovered and every citation has become an error code.
Zotero stores its database as zotero.sqlite in the Zotero data directory and keeps automatic backups named zotero.sqlite.bak; close Zotero, rename the backup, and restart. If you have ever synced to a Zotero account, the server copy can simply be re-downloaded to a fresh profile. EndNote libraries have a matching .Data folder that must travel with the .enl file — a library copied without it will open empty. Our walkthrough on setting up a Zotero group library covers the sync configuration that makes this recoverable by default.
How do you prevent the next one?
Adopt the 3-2-1 rule: three copies of the thesis, on two different types of media, with one held off-site. In practice, for most students, that means the working file in a synced cloud folder, an automatic local backup, and a periodic manual copy elsewhere.
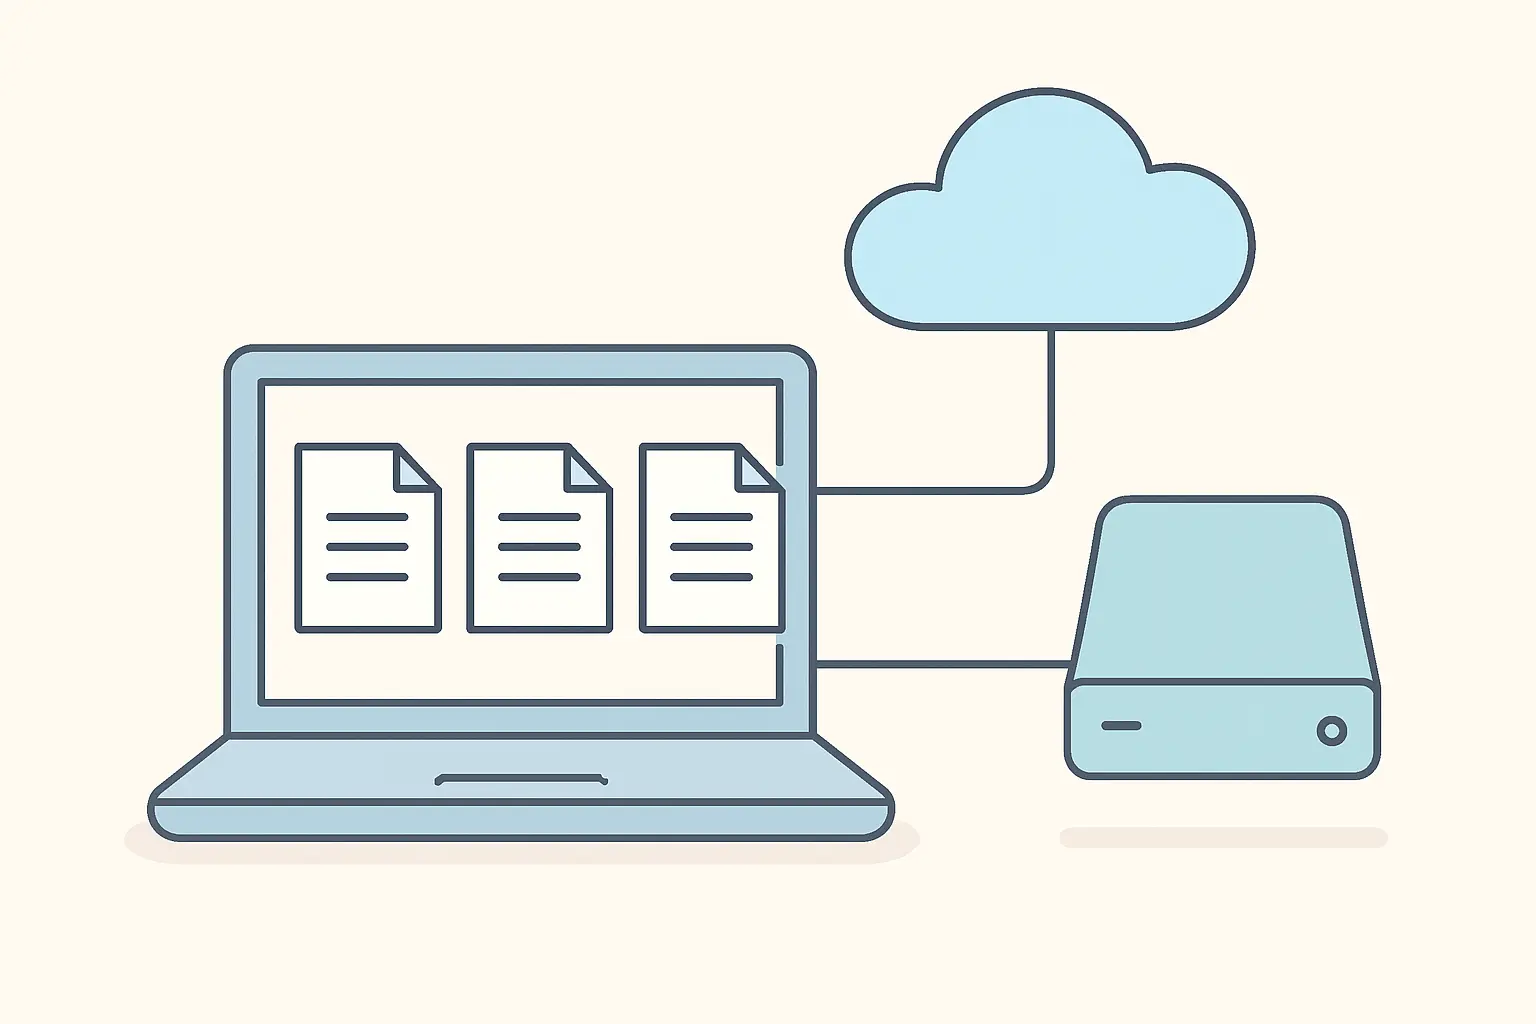
Add two habits on top. Save dated milestone copies at meaningful points — end of a chapter, before a supervisor’s edits, before submission — because version history helps only within its retention window. And avoid working directly on a USB stick, which is the single most common origin of the situations described above. If a hard deadline is close, our guidance on extensions and late submission covers what to tell your institution, and documented file loss is generally treated as legitimate mitigating circumstances if evidenced promptly.
Frequently asked questions
Can a corrupted Word file always be recovered?
No, but the odds are good. Application-level repair, autosave files and cloud version history collectively resolve the large majority of cases. Full loss usually happens where a file existed in exactly one location on failing hardware.
Will I lose my formatting?
Often, yes. The “Recover Text from Any File” converter retrieves words but discards styles, tables and images. Recovering the text and reformatting is far quicker than rewriting, and our guide to formatting a thesis in Word covers rebuilding the structure.
How long do cloud services keep deleted files?
Typically 30 days for consumer plans, sometimes longer for institutional accounts. University-provided OneDrive and Google Workspace accounts frequently have extended retention and an administrator who can restore beyond the user-visible window — ask IT before assuming a file is gone.
Should I use file recovery software?
Only after exhausting version history and autosave, and only when installed to a different drive than the one you are recovering from. Installing recovery software onto the affected drive can overwrite the very data you are trying to retrieve.
Can my university IT department help?
Frequently, yes, especially for institutional cloud storage and networked drives, where administrator-level restore options exist that students cannot see. Contact them the same day; retention windows are the binding constraint.
Does Google Docs corrupt like Word?
Very rarely, because the document lives server-side with continuous revision history. The realistic risks with Google Docs are accidental deletion and losing access to a shared file, both recoverable through Drive’s trash and version history.
Rebuild faster after a setback
Recovering the text is one problem; restoring the structure, formatting and citations across a full thesis is another. Tesify helps you rebuild chapters, restore consistent academic voice and reformat references quickly, so a bad day costs you hours rather than weeks.
Write your thesis with AI
Structure, draft, cite, and format your thesis faster with Tesify’s AI writing tools, automatic bibliography, and plagiarism checker. Free to start, no credit card required.



Leave a Reply