
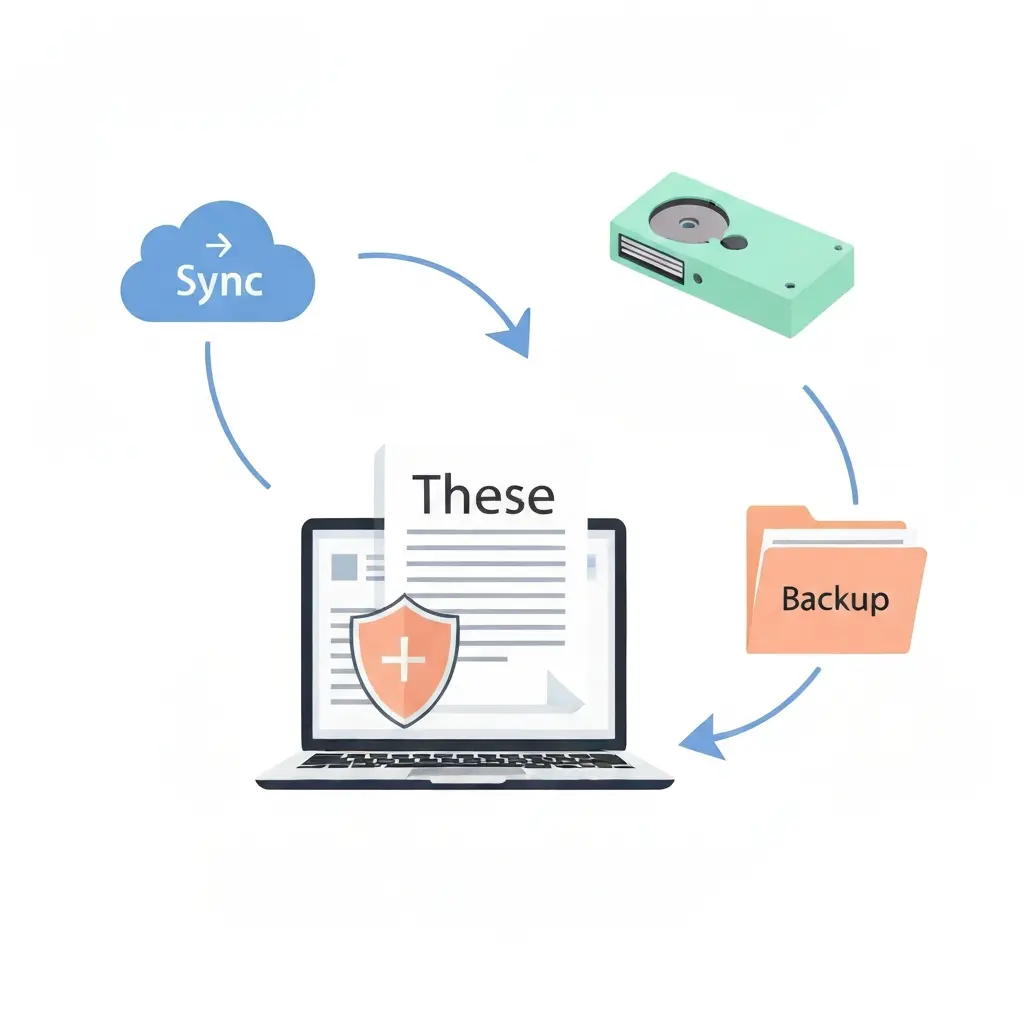
How to Back Up Your Thesis Safely: Version Control and the 3-2-1 Rule (2026)
Three years of literature reviews, fieldwork, and writing — gone in an instant because a laptop bag was left on a train. That scenario is not hypothetical: students report losing substantial thesis work to hardware failure, accidental deletion, and ransomware every year. Knowing how to back up your thesis safely before catastrophe strikes is one of the most underrated academic skills you can develop, and it takes less than an hour to set up correctly.
This guide walks you through every layer of a robust backup system: the industry-standard 3-2-1 rule, real-time cloud sync, version history in Overleaf and Microsoft Word, a practical file-naming convention, automated nightly backups, and a clear recovery checklist for when things still go wrong. By the end, your thesis will be protected against hardware failure, accidental deletion, software corruption, and physical disaster simultaneously.
Why Thesis Backups Fail (and When It Matters Most)
Most students do back up their work — eventually, partially, inconsistently. The common failure modes are more nuanced than simply “no backup exists”:
- Single-location backups. Saving to a USB drive that lives in the same laptop bag means one stolen bag erases everything.
- Infrequent snapshots. A backup taken last Sunday loses a week of writing if your drive fails on Saturday.
- Unverified backups. A corrupted backup file discovered only after the original is gone is the same as no backup.
- No version history. Accidentally overwriting 15 pages of your methodology chapter with an earlier draft cannot be undone if your cloud folder contains only the latest file.
- Format-specific risk. Large binary files (.docx, images, data files) can become silently corrupted without obvious error messages until you try to open them.
The critical periods are submission windows — the final 4–6 weeks before a hand-in deadline and the 48 hours before your viva. Whatever backup discipline you have established by then is what will protect you. Setting it up now, during a calm phase of writing, is far easier than scrambling after data loss.
Your backup system should also be running when you produce your data availability statement and deposit datasets to a repository. For a step-by-step guide to that process, see how to write a data availability statement — which covers Zenodo and Figshare deposit workflows where the same file-management discipline applies.
If you are also completing minor corrections after your viva, make sure your corrections copies and tracked-changes files are inside the same backup system from day one — those files are arguably more critical than your original draft because they have a hard institutional deadline attached.
Step 1 — Understand and Apply the 3-2-1 Backup Rule
Source: Educopia Institute — ETD+ Virtual Workshop Series on version control practices specifically for electronic theses and dissertations.
The 3-2-1 backup rule is the widely accepted baseline for data protection. It was popularised by photographer Peter Krogh and has been endorsed by the US Cybersecurity and Infrastructure Security Agency (CISA) and NIST as the minimum standard for any critical data. Duke University Libraries, for example, explicitly recommends the 3-2-1 approach in their research data management guidelines for postgraduate students.
| The rule | What it means for your thesis | Example |
|---|---|---|
| 3 copies | The live thesis file + two independent backups | Laptop + OneDrive + external drive |
| 2 different media | Not two copies on the same device or same service | Internal SSD + cloud storage (different failure modes) |
| 1 off-site copy | At least one copy is physically elsewhere or in a separate cloud account | Cloud folder synced to a remote data centre |
Applied to a thesis, 3-2-1 typically looks like this: your working copy lives on your laptop (copy 1), your cloud sync folder provides a continuously updated off-site copy (copy 2), and a weekly external-drive backup provides a second local media type (copy 3). A fire or flood at your desk destroys copies 1 and 3 simultaneously — but copy 2 in the cloud survives. A cloud service outage or accidental cloud deletion is covered by copies 1 and 3.
3-2-1 Backup Rule at a Glance
3
Copies of your data
2
Different media types
1
Off-site copy
Recommended by CISA and adopted by university research data management programmes including Duke University Libraries.
A well-structured backup system is also part of a broader project-management mindset. If you are building your thesis timeline from scratch, the guide on how to build a thesis Gantt chart and timeline includes a dedicated section on scheduling backup setup in your project plan — one of the early tasks that pays dividends throughout the entire writing period.
Step 2 — Set Up Continuous Cloud Sync
Cloud sync is the single highest-impact change you can make because it is continuous: every time you hit Ctrl+S, the updated file is uploaded automatically.
Choosing a cloud sync provider
| Provider | Free storage | Version history (free) | Best for |
|---|---|---|---|
| OneDrive | 5 GB (often 1 TB via university) | 30 days | Word/Office users, university Microsoft 365 |
| Google Drive | 15 GB | 30 days | Mixed file types, Google Docs writers |
| Dropbox | 2 GB | 180 days (Plus) | Collaboration-heavy projects, longer history window |
Action steps:
- Install the desktop sync app for your chosen provider.
- Move your entire thesis folder inside the sync folder (e.g.,
OneDrive/Documents/Thesis/). Do not work on files outside the sync folder. - Confirm the sync icon shows green tick marks, not a pending-upload icon, after each save session.
- Check the provider’s web portal once to confirm your files are visible there — this verifies sync is actually working.
University-provided storage: Many UK, US, Australian, and Canadian universities provision students with 1 TB or unlimited OneDrive storage via Microsoft 365. Check your IT portal — this is effectively free, institution-grade cloud backup that satisfies the off-site requirement with no additional cost.
Step 3 — Enable Version History in Your Writing Tool
Cloud sync saves the latest state of your file. Version history lets you travel back in time to any earlier draft — essential when you delete a section and realise three weeks later you need it back.
If you write in Microsoft Word (Microsoft 365)
- Ensure your thesis .docx is inside your OneDrive folder (from Step 2).
- Open the file in Word, click the file name in the title bar, and select Version History.
- A panel lists every auto-saved version with timestamps. Click any version to open a read-only copy, then use Restore to roll back.
- Optionally, enable AutoSave (toggle in the top-left corner of Word) — this saves every few seconds to OneDrive in real time.
For detailed guidance on organising your Word thesis file structure, see the guide on how to format your thesis in Microsoft Word step by step.
If you write in LaTeX via Overleaf
- Overleaf records every edit automatically. Open the History panel (clock icon, top right of the editor).
- On the free plan, you see all edits from the past 24 hours plus any versions you have manually labelled. To label a version: open History, click the three-dot menu next to a version, and select Label this version. Label at meaningful milestones: “Chapter 2 first draft”, “After supervisor feedback — v3”, etc.
- On Overleaf Premium (required for full Project History), you can restore any single file or the entire project to any point in its history. You can also download any past version as a
.ziparchive. - For an off-site copy of your Overleaf project, use Menu → Download Source weekly to save a local
.zip, then put that inside your cloud sync folder.
Version control with Git (for advanced users and LaTeX theses)
Git provides the most granular version history available: every commit is a named, time-stamped snapshot with a message you write yourself. A practical workflow for a LaTeX thesis is to connect your Overleaf project to a private GitHub repository using Overleaf’s built-in Git integration, then push commits at major milestones. This also doubles as your second off-site copy (GitHub’s servers) and makes supervisor collaboration straightforward. If you are still weighing your writing environment, the comparison of LaTeX vs Word for thesis writing covers the full trade-offs in depth.
For Word-based theses, Git is less commonly used but workable via text-based exports. The Microsoft 365 Version History panel is a simpler, equally reliable alternative for most students.
Step 4 — Adopt a Consistent File-Naming Convention
Version history tools are your primary safety net, but a sensible file-naming convention is a lightweight, always-available fallback. It also prevents the common problem of maintaining ten ambiguously named files (“thesis_FINAL_v2_reallyfinal.docx”) with no way to identify which is current.
Recommended pattern
YYYY-MM-DD_ThesisShortTitle_vN.ext

Examples:
2026-04-15_ClimatePolicyThesis_v1.docx       ← first complete draft
2026-05-02_ClimatePolicyThesis_v2.docx       ← after supervisor feedback
2026-05-28_ClimatePolicyThesis_v3_SUBMIT.docx ← submission candidate
Rules for this system:
- Use ISO 8601 dates (YYYY-MM-DD) so filenames sort correctly in any file browser.
- Increment the version number only at meaningful milestones — after supervisor feedback, after major structural changes, before submission. Do not increment for every editing session (that is what cloud version history is for).
- Archive old versions in a subfolder called
_archiverather than deleting them. - Apply the same convention to your data files, images, and R/Python scripts so every component of your thesis has a traceable history.
This naming convention is especially valuable when you are working on a thesis with multiple chapters and want to track the progress of individual components — for instance, aligning your drafts with the chapter structure described in the guide to how to structure a PhD thesis step by step.
Step 5 — Add a Second Off-Site Copy
Your primary cloud sync service (from Step 2) provides one off-site copy. To satisfy the 3-2-1 rule fully, you need a second backup on different media. There are three practical options:
Option A — Second cloud account (different provider)
Set up a free Google Drive account as a second cloud backup. Once a week, copy your thesis folder into a Google Drive subfolder manually, or use a free tool such as rclone to automate the sync between OneDrive and Google Drive. Two independent cloud providers are affected by entirely different outages and account issues.
Option B — External hard drive or SSD
A USB external drive (500 GB models cost roughly £30–50) stored at a second physical location — a parent’s house, your university office, a friend’s flat — satisfies the off-site and different-media requirements simultaneously. Plug it in once a week, run your backup, unplug it.
Option C — University-managed research data storage
Many research universities provide dedicated secure storage for thesis research data — separate from personal OneDrive. Check with your department’s IT support or research data management team. Storing your thesis here gives you institution-grade redundancy managed by professionals.
Step 6 — Automate Nightly Backups
Manual backups fail because they require you to remember. Automation removes the memory requirement entirely. Set this up once and it runs in the background every night.
macOS — Time Machine
- Connect your external drive.
- Go to System Settings → General → Time Machine.
- Click Add Backup Disk and select your external drive.
- Time Machine will now back up your entire Mac hourly when the drive is connected, and keep hourly snapshots for 24 hours, daily snapshots for the past month, and weekly snapshots for all prior months until the drive is full.
Windows — File History
- Connect your external drive.
- Go to Settings → Update & Security → Backup (Windows 10) or Settings → System → Storage → Advanced storage settings → Backup options (Windows 11).
- Select Add a drive, choose your external drive, and toggle Automatically back up my files on.
- Set the backup frequency (hourly is recommended during active writing periods).
Cross-platform — rclone (free, command-line)
For students comfortable with the command line, rclone sync can automate bidirectional backup between any two cloud providers or between a local folder and a cloud destination. Scheduled as a daily cron job (macOS/Linux) or Windows Task Scheduler entry, it runs silently without any manual intervention.
Step 7 — Test Your Recovery Process
A backup you have never tested is a backup you cannot trust. The test takes five minutes and should be done once a month during active writing.
- Pick a specific file — a chapter draft from two weeks ago.
- Navigate to version history in your cloud provider or writing tool.
- Download or restore the earlier version into a temporary folder.
- Confirm the file opens correctly and contains the expected content.
- Repeat with your external drive backup — plug in the drive, locate the file, confirm it is readable.
This simple check catches silent backup failures — corrupted drives, misconfigured sync folders, or services that have quietly stopped working — before you actually need them.
Emergency Recovery Checklist
If you have lost thesis files right now, work through this checklist in order:
- Check Recycle Bin / Trash immediately — accidentally deleted files remain here until you empty it.
- Check cloud provider trash and version history — OneDrive, Google Drive, and Dropbox all retain deleted files for at least 30 days and let you restore previous versions of existing files from their web portals.
- Check Overleaf History (if you write in LaTeX) — use the History panel to browse changes and restore deleted files or roll back to an earlier project state.
- Check Time Machine or File History — browse to the file’s original location and use your backup tool to restore from the most recent snapshot.
- Check email attachments — if you have emailed drafts to your supervisor or yourself, those attachments are recoverable from your sent items.
- Try data-recovery software (last resort) — tools such as Recuva (Windows, free) or Disk Drill can recover files that have been deleted and emptied from the Trash, as long as the drive has not been overwritten.
Your Complete Thesis Backup System at a Glance
| Layer | Tool | Frequency | 3-2-1 role |
|---|---|---|---|
| Live working copy | Laptop internal drive | Every save | Copy 1 / Media 1 |
| Cloud sync + version history | OneDrive / Google Drive | Continuous | Copy 2 / Off-site / Media 2 |
| Version-labelled snapshots | Overleaf History / Word Version History | Per writing session | Rollback layer |
| Automated nightly backup | Time Machine / File History + external drive | Nightly (automated) | Copy 3 / Media 2 (local) |
| Monthly test restore | Any backup layer | Monthly | Verification |
Frequently Asked Questions
What is the 3-2-1 backup rule for a thesis?
The 3-2-1 rule means keeping 3 copies of your thesis on 2 different types of media with at least 1 copy stored off-site or in a dedicated cloud account. Recommended by CISA and adopted by university research-data management programmes at institutions including Duke University, it protects against hardware failure, accidental deletion, and physical disasters simultaneously.
Does OneDrive automatically back up my thesis?
Yes — if you save your thesis inside the OneDrive sync folder, every Save is mirrored to Microsoft’s cloud servers in real time. OneDrive also keeps a 30-day version history on free accounts (180 days on Microsoft 365 plans), so you can restore earlier drafts. University Microsoft 365 licences often include 1 TB of OneDrive storage, making it a practical free solution for most students.
How does Overleaf version history work?
Overleaf records every edit automatically. The free plan shows changes from the last 24 hours plus any labelled versions you create manually. Premium subscribers get full Project History, which allows restoring any single file or the entire project to any point in time, and downloading any past version as a .zip archive. Manually labelling versions at the end of each writing session extends your safety net on the free tier.
Do I need Git to version-control my thesis?
Not necessarily. For Word users, Microsoft 365 Version History and OneDrive provide sufficient rollback without Git. Git is most valuable for LaTeX theses on Overleaf (via Overleaf’s built-in Git bridge) or for researchers who want granular commit-by-commit history with meaningful commit messages and a private GitHub repository that doubles as an off-site backup.
How do I recover a deleted thesis chapter?
Check four places in order: (1) your Recycle Bin or Trash, (2) your cloud provider’s trash and version history — OneDrive, Google Drive, and Dropbox all retain deleted files for at least 30 days, (3) Overleaf’s History panel if you write in LaTeX, and (4) your most recent Time Machine or File History backup on your external drive.
How often should I back up my thesis?
For active writing, continuous cloud sync is the baseline — every save is immediately backed up off-site. Complement this with a nightly automated backup to an external drive and a manual labelled version in Overleaf (or a versioned file copy) at the end of each significant writing session. Run a five-minute test restore once a month to confirm all backup layers are working correctly.
Write and protect your thesis with Tesify
A robust backup system protects the file — Tesify helps you write what goes inside it. Tesify’s AI-powered writing environment guides you through every chapter with structure suggestions, real-time feedback, and automatic citation formatting. You can also use Tesify Auto Bibliography to generate correctly formatted reference lists as you write — no manual entry, no formatting errors. Start your thesis today and keep it safe every step of the way.
Write your thesis with AI
Structure, draft, cite, and format your thesis faster with Tesify’s AI writing tools, automatic bibliography, and plagiarism checker. Free to start, no credit card required.






Leave a Reply