
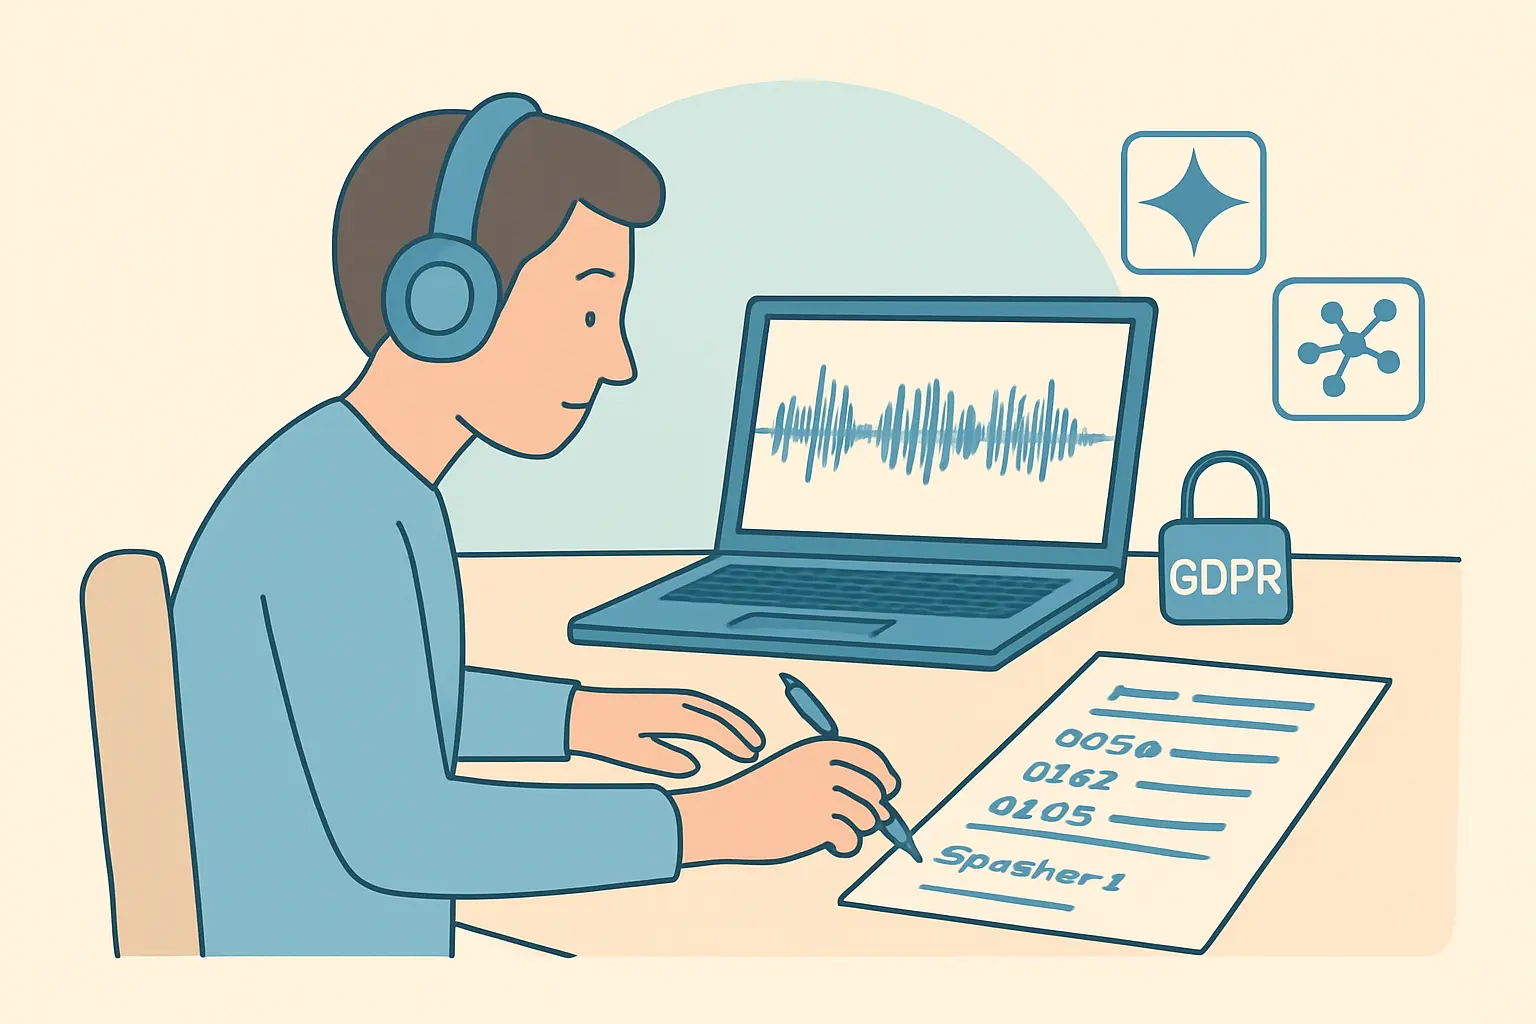
How to Transcribe Research Interviews Step by Step in 2026
You recorded your interviews. The hard part is done — or so it feels. But sitting down to convert hours of audio into analysable text is where most students stall. The cursor blinks. The playback bar looks impossibly long. Nobody in your methodology textbook told you whether to write “um” or skip it, what timestamps actually need to look like in NVivo, or how to handle a participant’s name that slips through in the middle of a long answer.
Transcription is not just typing. Done correctly, it produces a document that is ethically clean, analytically sound, and ready to import into your qualitative data analysis software (QDAS) of choice. Done carelessly, it creates anonymisation gaps that can invalidate your ethics approval, or formatting inconsistencies that make NVivo imports painful. This guide walks you through how to transcribe research interviews in 2026 — every stage from choosing your convention to archiving the final file.
To transcribe research interviews step by step: (1) choose verbatim or intelligent verbatim style based on your analytical method, (2) prepare your audio files and workspace, (3) transcribe with timestamps and speaker labels, (4) anonymise using consistent pseudonyms in line with GDPR, (5) clean and format for QDAS import, and (6) verify accuracy against the original recording before archiving securely.
Step 1 — Choose Your Transcription Convention
Before you type a single word, decide what kind of transcript your analysis actually requires. The choice determines your entire workflow, and switching halfway through undermines reliability. The two main conventions are verbatim and intelligent verbatim.
Verbatim Transcription
Every word, filler, false start, and audible paralinguistic feature is captured exactly as spoken. This includes “um”, “uh”, “like”, laughter, overlapping speech, and significant pauses. Verbatim transcription is the right choice when:
- Your analysis focuses on discourse, narrative, or conversation — conversation analysis (CA), discourse analysis, or narrative inquiry
- You are using grounded theory and need to preserve precisely how participants construct meaning through language
- Your ethics committee or supervisor has specified full verbatim documentation
Intelligent Verbatim Transcription
Filler words, false starts, and redundant repetitions are removed, but the meaning, vocabulary, and sentence structure of the participant are fully preserved. The transcript reads naturally but remains faithful to what was said. Intelligent verbatim is appropriate for:
- Thematic analysis, framework analysis, and IPA (interpretative phenomenological analysis), where you are coding meaning rather than language form
- Large datasets where full verbatim transcription would be prohibitively time-consuming
- Supervisors or examiners who need to read quoted excerpts in an appendix without dense notation
| Feature | Verbatim | Intelligent Verbatim |
|---|---|---|
| Filler words (um, uh, like) | Included | Removed |
| False starts | Included | Removed |
| Pauses | Marked, e.g. [pause 3s] | Omitted or marked with ellipsis |
| Laughter / audible emotion | Marked, e.g. [laughs] | Noted only if analytically relevant |
| Time cost | Higher | Lower |
| Best for | Discourse / narrative / CA | TA, IPA, framework analysis |
Decide before you start, not halfway through. Inconsistent conventions make your transcript unreliable as a data source and weaken your methodological audit trail under examination.
Step 2 — Prepare Your Files and Workspace
A clean setup before you begin saves hours of correction later.
- Convert audio to a high-quality format. If your recording is in a compressed format such as AAC or OGG, convert it to WAV or MP3 at 192 kbps or higher before you start. Lower bitrates cause word loss that neither you nor AI tools can recover.
- Back up the original recording immediately. Copy the original audio file to at least two locations — an encrypted external drive and an institutional cloud store such as OneDrive or SharePoint — before editing anything. You will need the original for verification and GDPR audit requirements.
- Set your playback speed. Media players such as VLC and most transcription software allow 0.65–0.75× playback. Working at slower speed reduces errors and is considerably faster than pausing and rewinding repeatedly at full speed.
- Open a plain .docx file. Avoid Google Docs unless your institution’s ethics approval explicitly permits cloud storage of interview data on that platform. Turn off autocorrect — smart quotes and automatic capitalisation corrupt coded data in some QDAS versions.
Step 3 — Transcribe with Timestamps and Speaker Labels
Whether you type manually, use AI-assisted software, or combine both methods, every transcript needs two structural elements from the start: timestamps and speaker labels.
Timestamps
Insert a timestamp at minimum every three minutes of audio and at every change of speaker. The standard format is [HH:MM:SS]. A typical passage looks like this:
P1 [00:04:22]: I think the biggest challenge was not having enough time to really process what the supervisor was saying.
I  [00:04:38]: Can you tell me more about that?
P1 [00:04:41]: Yeah, like — [pause 2s] — it felt very rushed in those early months.
Timestamps serve two purposes. First, they let you return to the exact audio moment for verification. Second, in NVivo’s synchronised transcript view, clicking a coded passage jumps directly to the corresponding audio clip — essential when you need to examine tone, hesitation, or emotional register behind a quotation.
Speaker Labels
Use consistent abbreviated labels throughout: I (or R for researcher) and P1, P2, P3 for participants. Do not use real names at this stage — apply pseudonyms in Step 4, but using anonymous codes from the very first line eliminates the risk of accidentally producing a raw transcript that contains identifiable data.
Notation for Paralinguistics (Verbatim Only)
If you have chosen verbatim transcription, adopt a notation system and document it in your methodology appendix so it can be consistently applied and evaluated:
[pause 2s]— timed pause[laughs]— audible laughter[unclear]— inaudible or unintelligible section[emphasis]— spoken with notable stress//overlapping speech//— two speakers talking simultaneously
Step 4 — Anonymise and Apply Pseudonyms (GDPR Compliance)
Under UK GDPR and its international equivalents, a research transcript containing identifiable information is personal data. You must pseudonymise it before storage, analysis, and before any extract appears in a submitted chapter or publication.
Two categories of identifiers need attention:
- Direct identifiers: names, job titles that uniquely identify a person (“the only female partner at the firm”), institution names when they narrow identity to a single individual, and places of birth or residence
- Indirect identifiers: combinations of characteristics that, taken together, allow re-identification within a small population — for example, “a 54-year-old male GP in a two-person rural practice in the Scottish Highlands” is identifiable even without a name
Build a Pseudonym Key
Before editing the transcript, create a pseudonym key — a separate, password-protected document that maps real identities to their codes. Keep this file completely separate from the transcript files. A simple structure is sufficient:
| Participant Code | Pseudonym | Characteristics Retained in Transcript |
|---|---|---|
| P1 | Sarah | Female, mid-career, sector retained |
| P2 | James | Male, early-career, sector retained |
Once the key is in place, use Find and Replace in Word to substitute real names throughout the transcript. Then read through manually — automated replacement misses titles, pronouns in unexpected positions, and indirect identifiers entirely. A human pass is not optional.
Storage rule: The pseudonym key lives on an encrypted drive, physically and logically separate from the transcripts. Under most institutional data management policies, participants can request deletion of their data, and the key gives you the ability to locate and remove it precisely.
Step 5 — Clean and Format for QDAS Import
Your transcript needs to import cleanly into NVivo, Atlas.ti, or MAXQDA without structural errors that fragment your coding units. The following rules apply across all three platforms:
- Import format: .docx
- Timestamps:
[HH:MM:SS]per turn - Audio sync via Import > Audio/Video
- Paragraph = codeable unit
- Import format: .docx / .txt / .pdf
- Multimedia: link audio alongside transcript
- Team projects: shared cloud codebooks
- Paragraph = codeable unit
- Import format: .docx / .txt
- Media sync: timestamps link to audio
- Mixed-methods: integrates quant data
- Paragraph = codeable unit
- File format: .docx. Plain .txt works but loses paragraph structure, making coding by speaker turn considerably harder. Rich text retains the formatting QDAS tools use to define codeable units.
- Paragraph breaks at every speaker turn. Each speaker turn must be a separate paragraph — not a line break (Shift+Enter). QDAS tools typically treat paragraphs as the minimum codeable unit; line breaks within a paragraph merge multiple turns into one coding chunk.
- Consistent speaker label format. Place the label at the very start of each paragraph:
P1 [00:04:22]:or simplyP1:. Never vary between “Participant 1”, “P1”, and the pseudonym in the same document. - Disable autocorrect before you begin. Smart quotes, em-dashes, and automatic capitalisation after colons cause encoding problems in some QDAS versions. Draft in a plain-text editor and apply formatting only in the final .docx.
- NVivo synchronised format. If you want NVivo to sync your transcript with the audio file so you can click coded text and jump to the corresponding moment, your timestamps must be in exactly the format NVivo expects —
[HH:MM:SS]at the start of each speaker turn. Import the audio separately via Import > Audio/Video and link it to the document in the project.
Step 6 — Quality-Check Against the Recording
A transcript you have not verified is not an audit-ready data source. Most methodologists recommend a 10% spot-check as a minimum standard:
- Select a random sample representing roughly 10% of total audio length — for example, every tenth page or a random two-minute segment from each interview.
- Play the corresponding audio and read alongside the transcript simultaneously.
- Mark every discrepancy: misheard words, missed phrases, punctuation that changes meaning, notation errors.
- If you find systematic errors — a repeated mishearing of a technical term, a speaker consistently mislabelled — correct the full transcript, not just the spot-checked sections.
Member checking — returning the transcript to the participant for review — is common in participatory, action research, and phenomenological studies. If your design includes it, send the pseudonymised version, not a named one. Your covering communication should clearly explain that pseudonyms are in place for the final thesis and that any corrections should focus on factual accuracy, not stylistic preference.
Step 7 — Archive Securely and Document Retention
Transcripts are primary research data. Your institution’s data management plan (DMP), completed before your ethics application, specifies where they must be stored and for how long. The following requirements are standard across UK, EU, and most anglophone university frameworks:
- Storage location: University-approved encrypted cloud storage (institutional OneDrive, SharePoint, or equivalent) or an encrypted external drive stored in a locked cabinet. Personal Dropbox, iCloud, or consumer Google Drive accounts are not compliant under most institutional data policies.
- Retention period: Typically five to ten years after thesis submission or publication of related articles, depending on discipline and funder requirements. Clinical and medical research often mandates longer retention under separate regulatory frameworks.
- Audio recordings: Under GDPR, voice recordings are biometric data and are identifiable even when the speaker’s name is unknown. Some ethics approvals require deletion of audio files once transcripts have been verified and the active analysis period is closed. Check your specific approval and document the deletion date if deletion is required.
- Access control: Only named researchers on the ethics application should have access. If you used an external transcription service, they must have signed a data processing agreement (DPA) compliant with your institution’s GDPR obligations before any audio was shared.
How Tesify Supports Your Qualitative Write-Up
Transcription produces data. The harder task is turning that data into a coherent methodology chapter, a findings chapter with well-integrated quotations, and a discussion that ties your coded themes back to theory. Tesify helps you structure and draft each of those chapters — you bring your analysed themes and coded excerpts, and Tesify helps you write them up in the academic register examiners expect. The tool is designed for responsible, transparent use: it does not fabricate citations or invent data, and it keeps your voice and your analysis at the centre of the writing.
If you are weighing whether qualitative research is the right fit for your question before you commit to interviews at all, this guide on Tesify offers a clear decision framework — covering when each paradigm best serves different research questions and epistemological positions.
Frequently Asked Questions
How long does it take to transcribe a research interview?
Manual transcription typically takes four to six hours per hour of audio, depending on audio quality, the number of speakers, and the density of technical terminology. AI-assisted transcription with manual correction reduces this to approximately one to two hours per hour of audio. Budget this time into your data collection timeline — a study with ten one-hour interviews requires a realistic block of forty to sixty hours of transcription work if done manually.
Is it ethical to use AI transcription tools for research interviews?
AI transcription tools are ethically permissible provided your ethics approval covers third-party data processing and the tool’s privacy terms comply with GDPR or the equivalent legislation in your jurisdiction. Any service that processes audio must have signed a data processing agreement (DPA) with you or your institution before you upload any recording. If your ethics approval does not mention third-party transcription services, seek an amendment before proceeding.
What is the difference between anonymisation and pseudonymisation in transcripts?
Pseudonymisation replaces identifying information with codes or fictitious names, but re-identification remains possible using the pseudonym key. Anonymisation removes or alters information to the point where re-identification is not reasonably possible, even with additional data. Research transcripts are typically pseudonymised rather than fully anonymised, because you retain the key for audit and deletion purposes. Under GDPR, pseudonymised data remains personal data and must be protected accordingly.
Do I need to include full transcripts in my thesis appendix?
Requirements vary by institution and supervisor. Most dissertations include one sample transcript in an appendix to demonstrate methodological rigour, alongside a statement that full transcripts are available on request for examination purposes. Including all transcripts is usually unnecessary and sometimes inadvisable if participants might be identifiable from cumulative detail across the appendix. Confirm expectations with your supervisor before submission.
How do I import a transcript into NVivo for coding?
Save your transcript as a .docx file with a separate paragraph for each speaker turn. In NVivo, go to Import > Files and select the document — NVivo treats each paragraph as a codeable unit. If you want to synchronise the transcript with your audio recording, import the audio file via Import > Audio/Video, then link it to the document in the project and enable the synchronised transcript view. Timestamps formatted as [HH:MM:SS] at each speaker turn allow you to click any coded passage and jump to the corresponding audio moment.
What should I write in my methodology chapter about transcription?
Your methodology chapter should state: the transcription convention used (verbatim or intelligent verbatim) and your rationale for choosing it; who conducted the transcription; the quality-checking procedure, such as a 10% spot-check against the original audio; the anonymisation and pseudonymisation approach; and the data storage and retention arrangements. Cite a methodological source — for example, Braun and Clarke (2022) for thematic analysis, or Jefferson (2004) for conversation analytic notation — to show that your choices are grounded in established practice rather than convenience.
Ready to Write Up Your Qualitative Findings?
Transcription is the foundation. The methodology chapter, findings narrative, and discussion are where your analytical judgement becomes visible to your examiner. Tesify helps you draft and structure those chapters using your own data — no fabricated citations, no shortcuts that compromise academic integrity. Your analysis stays at the centre of every paragraph.
Write your thesis with AI
Structure, draft, cite, and format your thesis faster with Tesify’s AI writing tools, automatic bibliography, and plagiarism checker. Free to start, no credit card required.




Leave a Reply